Phantom Project Page Two
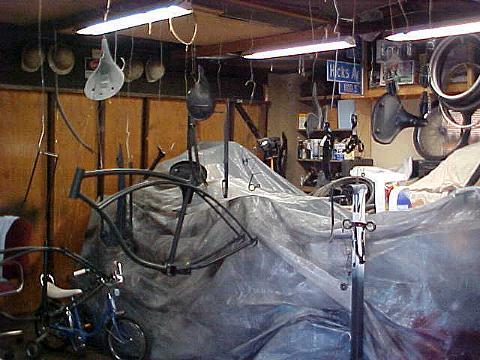
Finally got to the sandblast cabinet. Looks like something out of a HellRaiser movie!! Stuff hanging everywhere!! I like painting in big batches. There are two bikes worth hanging from the ceiling. One is our Phantom project, the other is a bike that my daughter wants me to build for her. Lucky me, huh?!
Ain't nothing like freshly primered parts!! A nice two part epoxy!! I think I have more stuff that needs to be painted black, so that will be the next color I paint. Next I check for smoothness of the surface, and scuff sand everything. Typically I wouldn't have to but I let the primer sit for a week. So a scuff sanding is recommended. Besides, it helps make for an even smoother surface!! And that translates into a shinier finish in the end!!
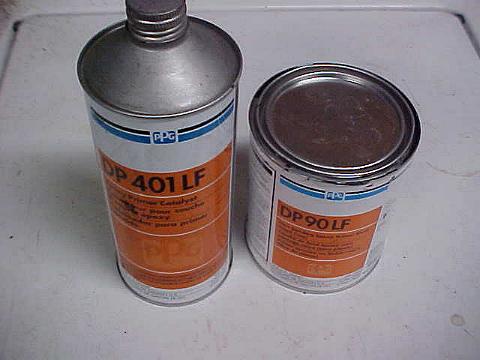
Here is our primer product. Nasty stuff so make sure you use the proper respirator. This stuff will make your lungs melt down! Nice thing about it, compared to regular primers, is that it is non porous. That means if you primer and forget to paint for a few years, your part probably won't rust. This stuff comes in different colors and is tintable. Pretty easy to use too.
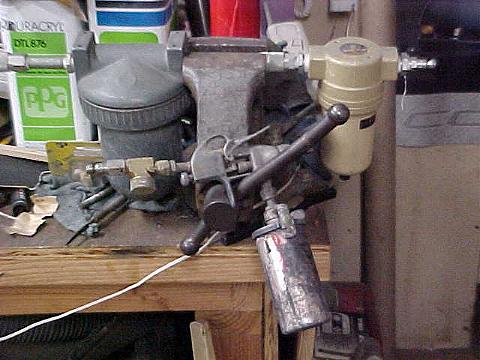
Here are some of our tools. The gun is a Devilbliss that someone gave me. Nice gun. Perfect for painting bikes. I don't have to get out the big one to do these jobs! Also, very important!! Your air must be dry!! The filter on the right is a water seperator. The one on the left is an air dryer. The line that goes from the filters to the gun is dedicated! That means I don't use it to air up tires or run air guns! It is for spraying paint only!
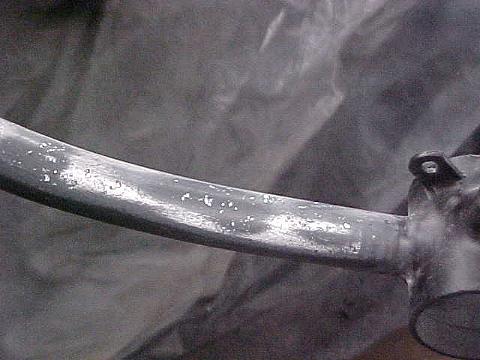
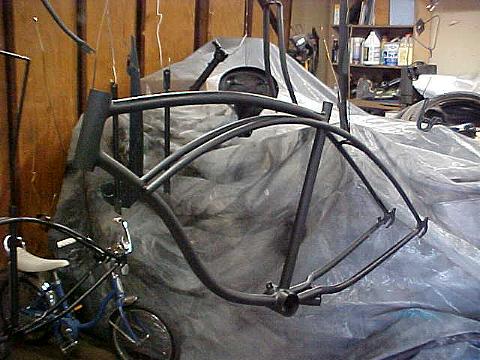
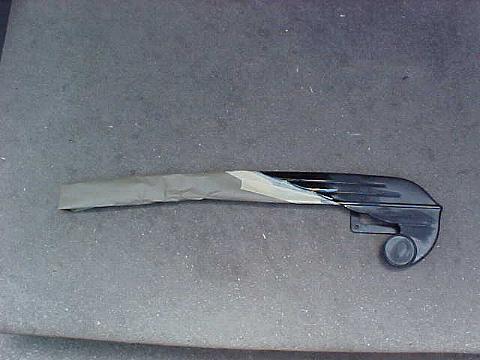
The perfectionist in me saw something that I couldn't let go! See, normally I just sandblast and paint. In a production line, it takes too much time to polish the steel or really clean up the joints. You know, really detail it out like you would an automotive restoration. But see, I like that factory look. Super detailing is fine for the show circuit, I just prefer a little realism. So I was looking at the frame and the chainguard and there
were just too many deep pits from rust. Too many to let go! I tried to look the other way but I just couldn't. So I filled them. Then I will reprimer and do some color coats. I promise! The speckles are the sanded filler, the long light areas are bare steel. See that factory look I was talking about where the tube joins the bottom bracket? That I will leave alone!
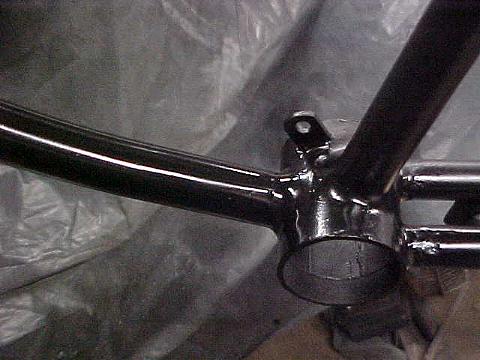
Ahh! Much nicer! So much smoother!! Yup, that primer is still sticky. That's why the shine to it! Maybe, finally, I can start getting my color coats on it!
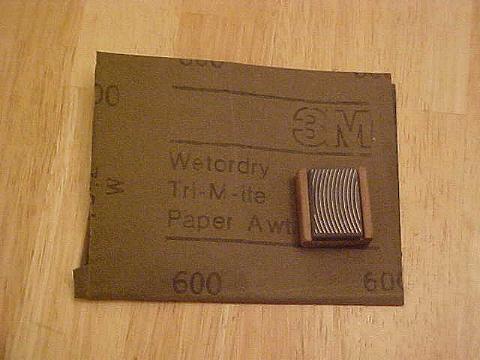
I wish I had a work shop!! But I work in my own garage. That means I have to share with the family. Afterall, this is where the washer and dryer reside. That means no matter how hard you try, you are going to end up with some dust in your paint work. Actually, my shop stays pretty dust free! Constant cleaning will do that! But for the occasional times that I do get a dust speck, I have these tools. The little square thing is a dust nib. A type of file. Good for big specks
of dust. The 600 grit works well for the smaller stuff. I usually use the 600 over everything before I do the color coat. Just to help really make things smooth!!
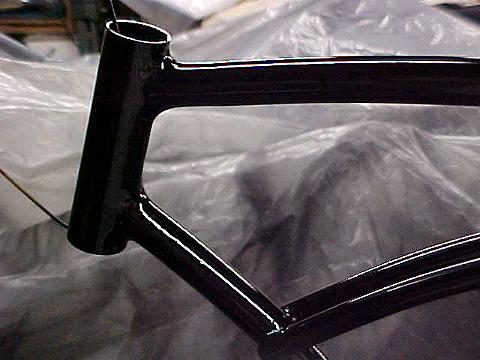
Finally! Some actual color coats! It's hard to photo black under flourescent lights, but there it is!! Hmmm, maybe I should think about getting the stuff down to the platers? We're kinda moving along now, eh?
Time to tape off everything that I don't want red. "Hey! You taped and are painting the wrong side!!" Nope! It's going to be a red Phantom! Ha!!
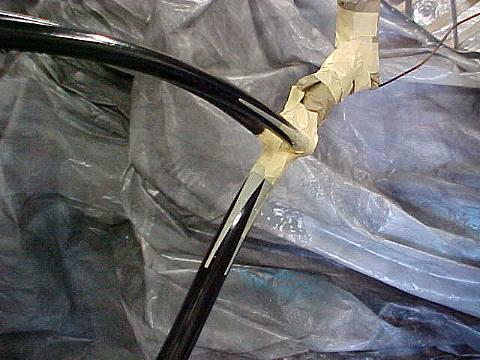
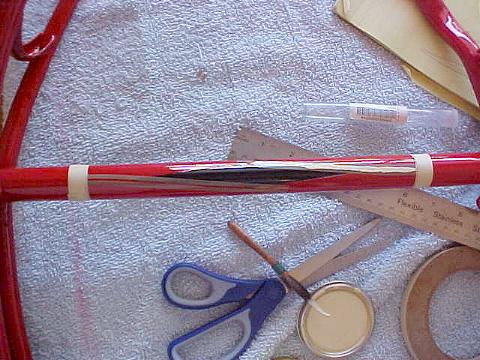
This is where all of those measurements come into play! You will still need them later for your pinstripe details. Tape, tape, tape!!
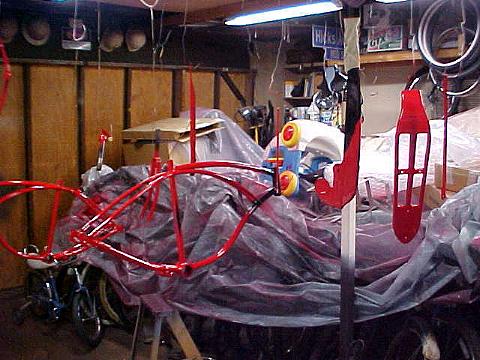
AAAUUUGGGHHH!!! Red paint everywhere!! And believe me, that stuff can get everywhere! Cover everything that you don't want paint landing on!!
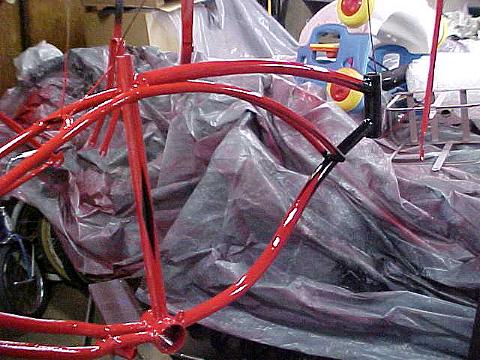
Here is a closer view of the frame. Notice how the seat post diamond looks a little small. It will look much bigger once the pinstriping is done. The pinstripes extend past the end of the diamond by about 1" to 1 1/4". Same with the headtube detail. For now we let the paint cure! Which is fine with me! It has been a long weekend! By the way, I have been using PPG's Omni LV line of paint, MTV in particular. Visit PPG's site if you would like more information on their product.
I couldn't pinstripe if my life depended on it! I just don't have the time or patience to learn how to have a steady hand! So I cheat! I am using a pinstripe stencil tape. They come in various widths. I get mine at Eastwood Restoration Supplies. You can find their ads at various locations around my web site.
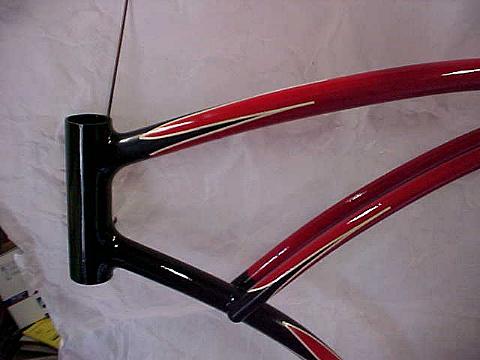
How does that look?? Not so bad, eh? It can maybe use a little polishing and detailing here and there. Notice the pinstripes don't continue to the inside parts of the frame. No need, the tank will be sitting there. By the way, before I did the stripes on this part of the frame, I stuck the tank in there to see how things would look. It helps to do this type of thing throughout your restoration process.
Phantom Project Page Three
Phantom Project Page Four
Phantom Project Page Five
BUNCH "O" BIKES
BUNCH "O" BIKES UNDER CONSTRUCTION
BUNCH "O" BIKES NO LONGER WITH US
REPAIR AND RESTORATION TIPS
COOL LINKS
STUFF FOR SALE
Questions? Suggestions? Send an email
This Page Copyright (©)1999-2002 By MNSmith