Phantom Project Page Four
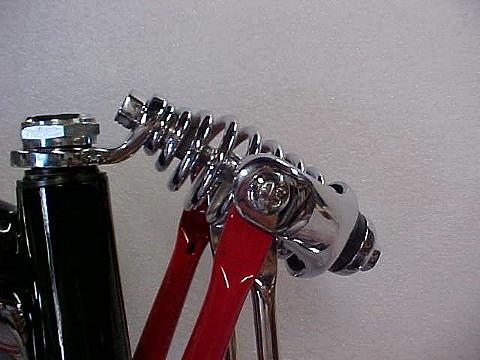
Assemble that springer! Put it together the same way you took it apart. Bolt your spring to the yoke. Insert your center bolt with the spring stop. Thread it into your bracket, add the locking nut and you're done! Add the legs and struts and now you have a front end assembly!
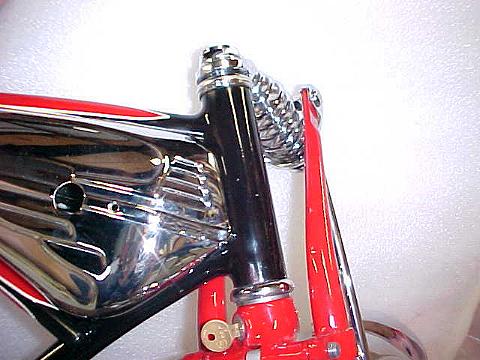
Get that head set together. Tips on how to do it best are in my Repair And Restoration Tips section. I'm using an automotive wheel bearing grease.
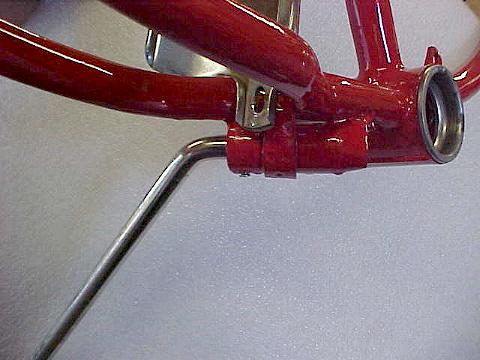
Install that kick stand. Again, there is a how to in my restoration section. Just do the opposite of the removal procedure.
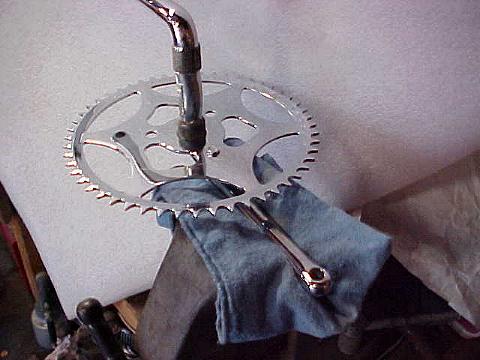
Does this scare you?? Clamping brand new chrome in a vise?? Use lots of padding and don't clamp hard. Just enough to tighten your race.
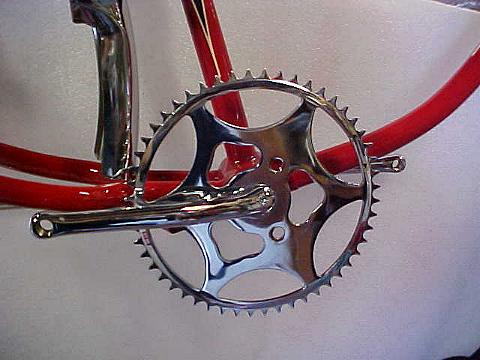
Install that crank! That chainring sure is a beauty!!
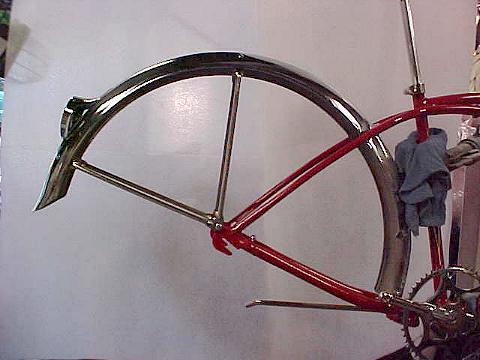
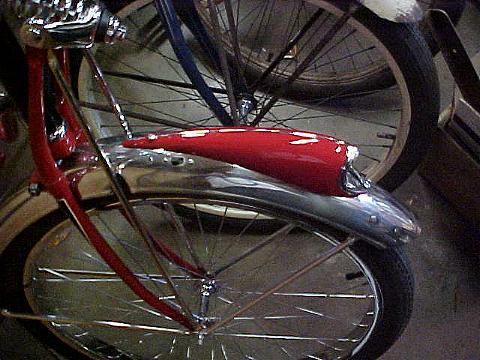
I set the rear fender. I got it all assembled loosely and when everything was in the right spot, I tightened up all the nuts and bolts. I'm using the "rivet" screws to attach the braces to the fenders. I do have rivets but I don't have a setting tool yet. So now everything looks nice and straight back there!
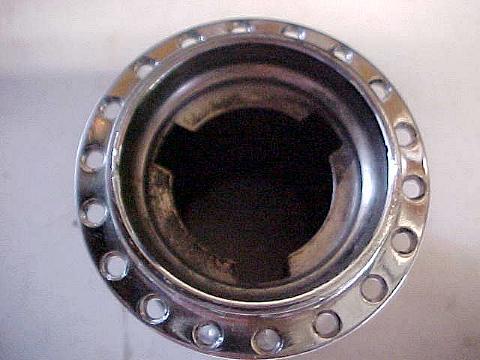
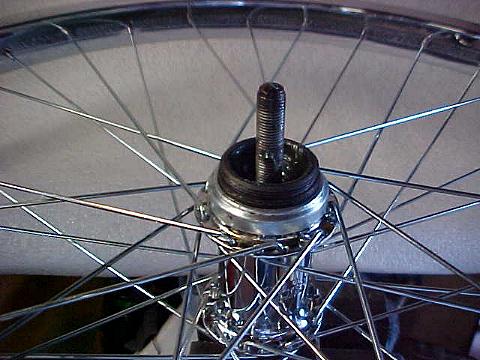
Check your parts before you put them into use. There was a little polish left in the rear hub and part of the head set. Those are the dark areas you see. Nothing a little wire brush won't take care of. Sometimes you have to clean, then reclean, then reclean..... Sometimes it never ends!
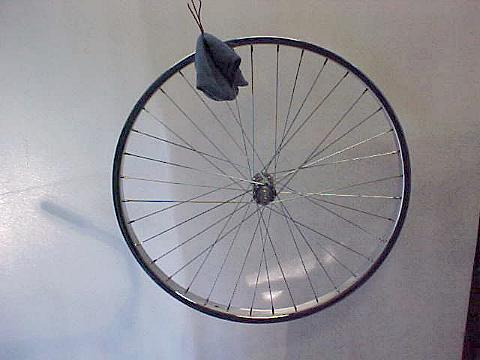
I made a front wheel! Maybe I'll do the rear next. I'll leave the wheel building explanation to someone else. I look like a mad man when I do it. Extremely hard to follow. See my restoration section for a great link to Sheldon Brown's site on how to build wheels!
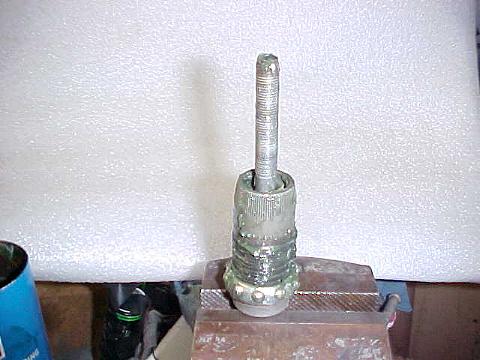
Time to build the rear hub. It is a New Departure. The shell has already been laced to the rim. I chuck the axle into my vise, then grease the discs when I put them on the axle. Then on with the clutch. Don't be afraid to use lots of grease!
On goes the wheel / shell assembly. With the axle chucked into the vise, it makes it easy to line up all of the clutch discs.
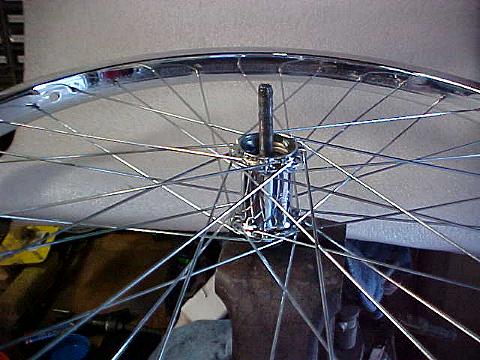
Add the driver, with or without the cog.
Then put on the last cone. I snugged the cone in place, made sure that the axle was centered in the assembly, then locked down that cone with a lock nut. I flipped the entire assembly over and chucked the locking nut into the vise. I added the brake arm, snugged the assembly, backed the brake arm off 1/4 turn and locked it in place with the appropriate lock nut.
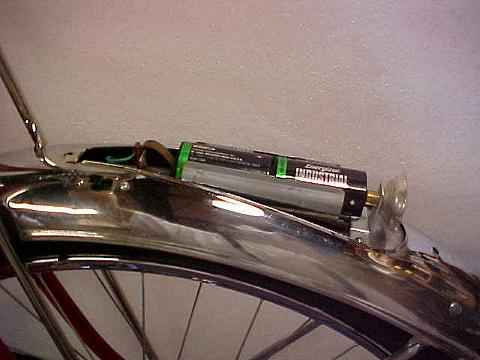
I installed the headlight unit. I was going to rivet it in but decided to use some #6 machine screws instead. The switch is in also. Not a Delta but a replacement from Memory Lane Classics. The light works great!
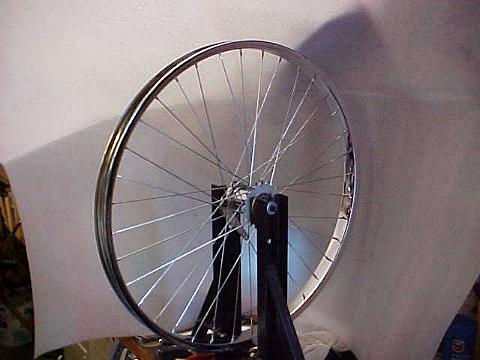
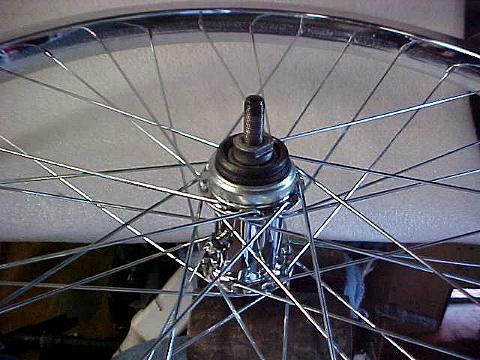
Time to true up the rear wheel. The front is already done. It has it's Typhoon tire on it and is already bolted to the bike. Almost time to let this bike rest on it's kickstand and not the bike stand!
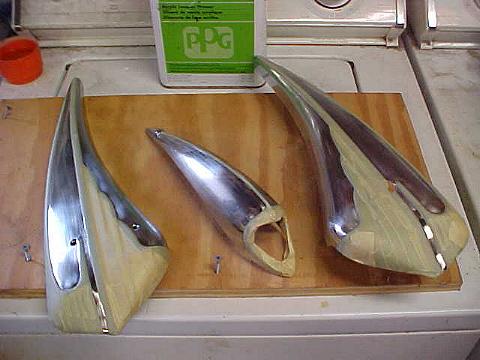
Ahh! Jul 4th, 2002. A single day to celebrate our Nation's independence. A day off for me from my "day" job. A day to catch up on some bike stuff!!!! This had to be one of the hardest things I had to do. First I taped off everything that I didn't want paint on. Then the hard part. I had to take sandpaper to that new chrome. I did it to scuff it up so the paint would adhere. Not easy to do when you just forked over $500 or so to have all that stuff look perfect!
I guess it didn't bug me that much! I managed to scuff it and get my primer coat on. Now to let it sit for an hour or so.
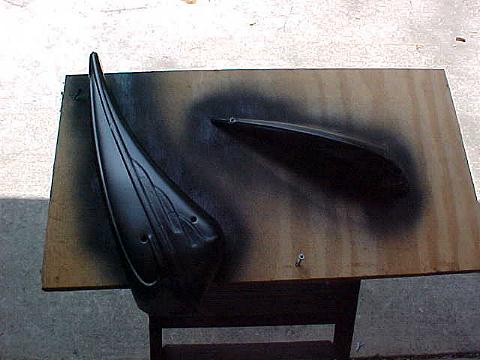
I got my color coat on, let it cure for about three hours, then CAREFULLY removed the tape. I like it! Another 4 to 6 hours and I can give it a single stripe. Then the "Schwinn" decals will go on.
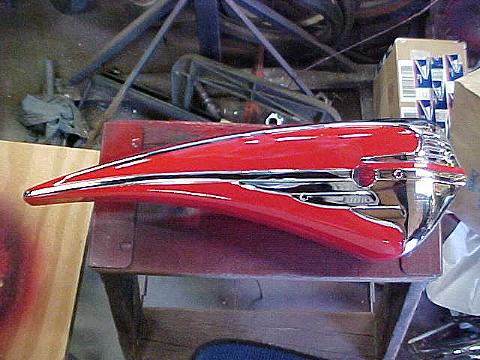
I couldn't resist! Yeah, the paint is still soft, but I carefully attached the cover. I have a lens on the way. You'll notice that the bike is on the ground. I put a chain on and took it for a test drive. Smooooth! I also repaired the horn and made sure it works. I still need to cover the seat and a few other details, but the end is in sight!!
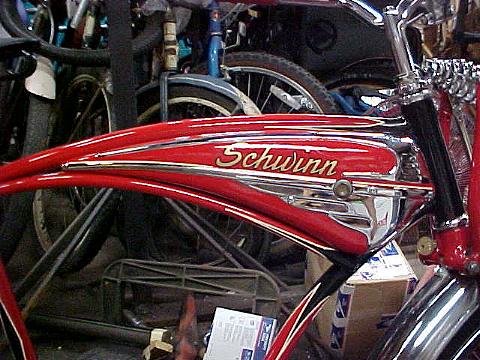
The tank has been striped and the decals applied. The horn works and is installed. Not much more to do!
Phantom Project Page Five
BUNCH "O" BIKES
BUNCH "O" BIKES UNDER CONSTRUCTION
BUNCH "O" BIKES NO LONGER WITH US
REPAIR AND RESTORATION TIPS
COOL LINKS
STUFF FOR SALE
Questions? Suggestions? Send an email
This Page Copyright (©)1999-2002 By MNSmith