Bike Detailing

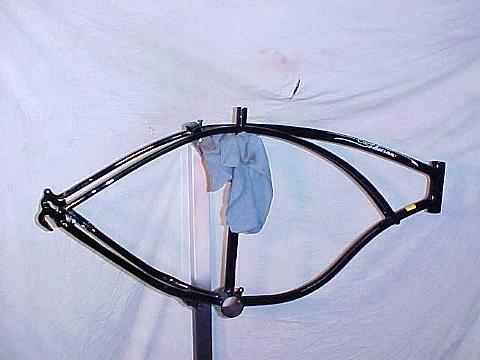
Here is what we are starting with, a 1980 Cruiser 5. The previous owner took great care of it. Minimal scratches, the usual amount of rust for a 20 year old bike and non-original tires. We're going to disassemble it as necessary, clean it, polish it, wax it and try to make it look like new. I'll share the products I use to do this along with the techniques I use.
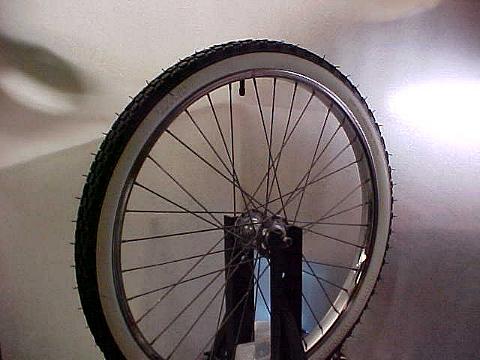
Here is why the wheel wasn't pictured above. I had finished detailing it when the idea to make this page occured to me. I have already cleaned the rim. No wax as it would make the front brake ineffective. I scrubbed the hub and the spokes without disassembly. I removed the axle and degreased. Then repacked with grease. I trued the wheel and installed a NOS whitewall knobby.
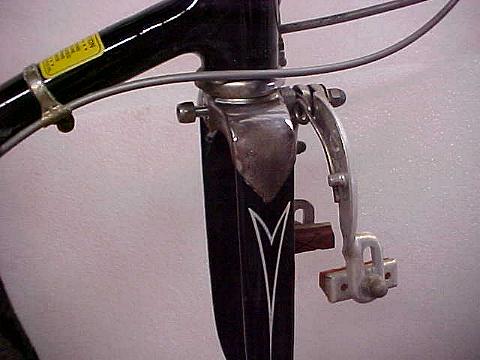
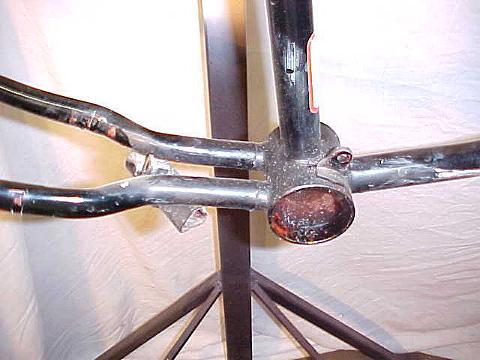
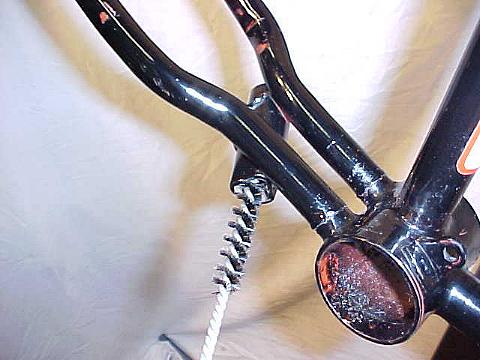
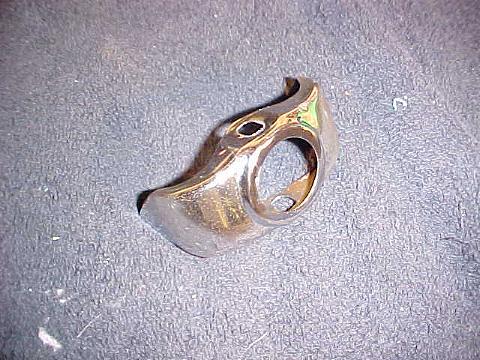
Hard to see, but there is a light rust on that fork crown. Also a build up of wax around the edges. General dirt, grime and 20 years of old grease in the headset.
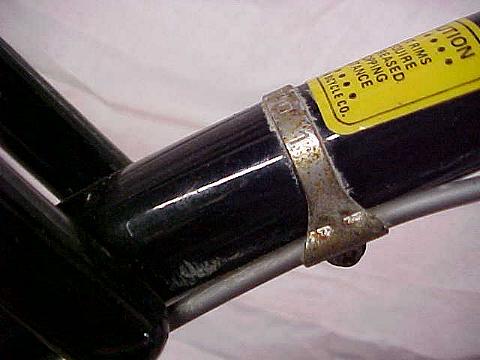
Those aren't scratches on the lower part of that bar, that is leftover wax. You can also see in detail the buildup of wax and rust on that clamp. This is typical all over this bike.
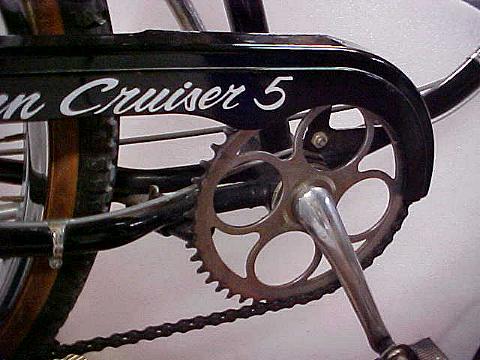
The chainwheel has light surface rust and is facing out instead of in. The kickstand tube is also a major collector of dust and grime. The chainguard is pleasantly scratch free although it is wavy in some places. Notice the gumwall mountain bike tires. Those have to go!
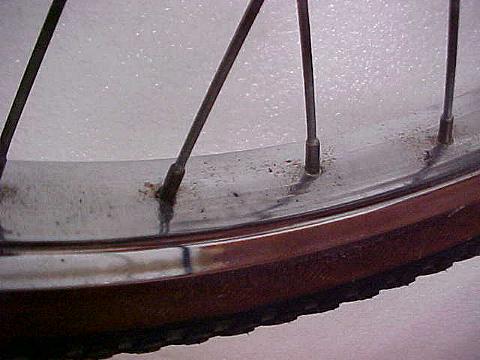
Here is a sample of the light rust on the rims. Rust has been polished off before, but I think we can do a little better around those spokes!!
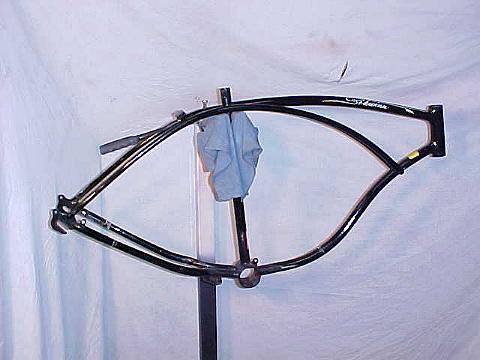
Okay, time to disassemble and get it down to the bare frame. Break everything down into sub-assemblies. This way, after detailing the frame, you can work on various sub-assemblies and you will assure yourself less of a chance to lose parts or nuts and bolts. When possible, keep your nuts and bolts with your sub-assembly. As an example, when you remove the chainguard, put the rear screw back in the frame and put the front nut and bolt in the corresponding chainguard hole. Make sense?? After you detail a sub-assembly, it can be reattached to the frame. Let's begin!
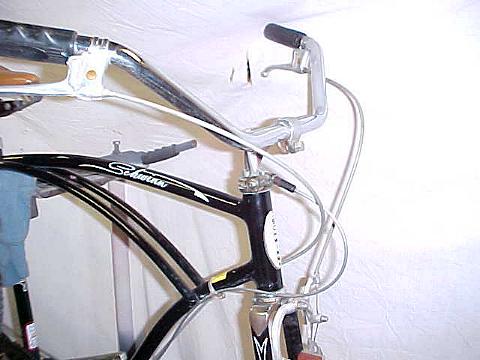
Thought I would take a photo of the cable routing. I know it doesn't matter where they go, but I like putting things back where I find them.
Here we go! Our starting point. This makes a big difference to clean it at this level. This way no area is left untouched. Let's begin!
You can see the buildup of grime and wax. We'll have this cleaned up in no time!!
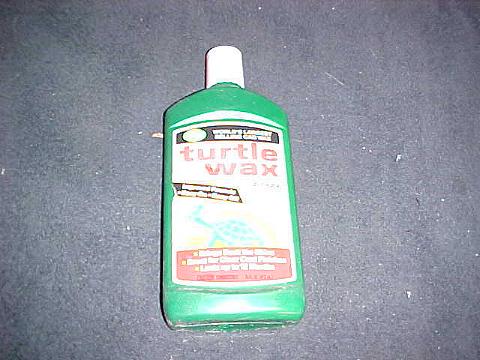
I use a liguid Turtle Wax for my basic cleaning needs. I'll use it with a rag, steel wool, or whatever. It is a good cleaning product that doesn't harm the paint, decals or silkscreens.

Here is another tool that is helpful. An old toothbrush. Keeps these around for getting at the hard to reach areas. They also help you get the wax out of those hard to reach areas!
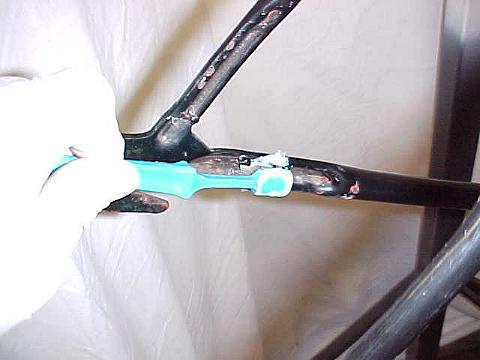
I also use it where there is a buildup of grease and grime. Where it is hard to get your fingers into.
I also use it where there is a buildup of grease and grime. Where you need something that will scrub a little better than a rag.
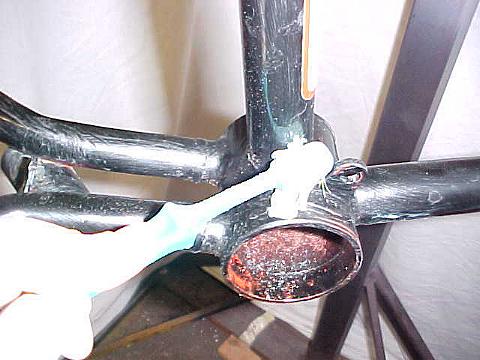
It really helps to turn that frame upside down. That way you can really see what you are cleaning. If you don't have a stand, put on some dirty pants and clean the frame right in your lap. Or put a 3/4 inch steel bar or old seat post in a bench vise that will hold your frame. I've even gently clamped the bottom bracket into a bench vise! Use a rag!
We are done with the Turtle wax. Now for the real shine!!!
Use a pipe cleaner to clean out the kickstand tube. Scrape the old grease with a screwdriver if you have to. A little WD-40 works here. Then run a rag through it when you are done.
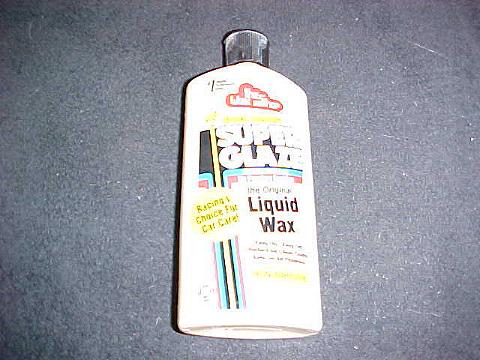
Here is the stuff that makes the deep shine. Follow the instructions!!
Ah! That looks so much better!!
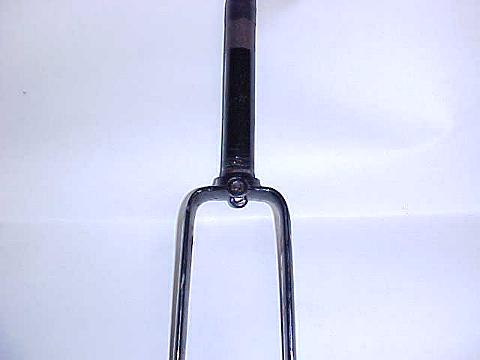
Strip that fork down to nothing and clean it the same way!
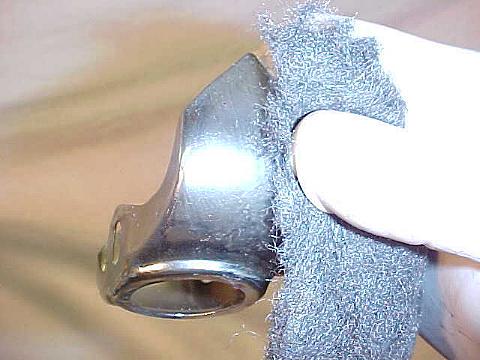
Some people don't like using steel wool but I have never had a problem or bad results. WD-40 makes a good cleaning lubricant for chrome. I am using #000 steel wool. A fine grade so that it doesn't leave scratches.
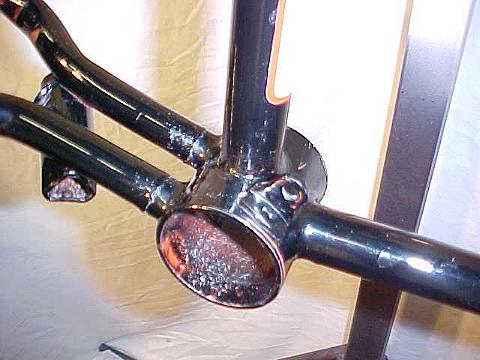
The rust is gone but the WD isn't. Time to clean that off.
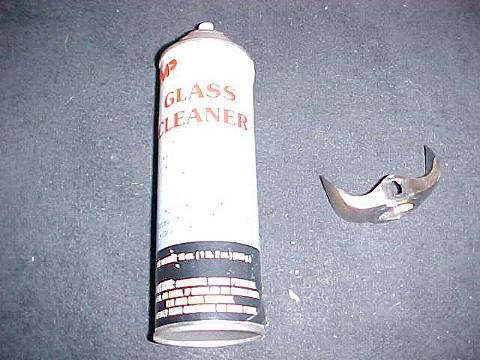
Here is what I use as a final cleaner before waxing chrome.
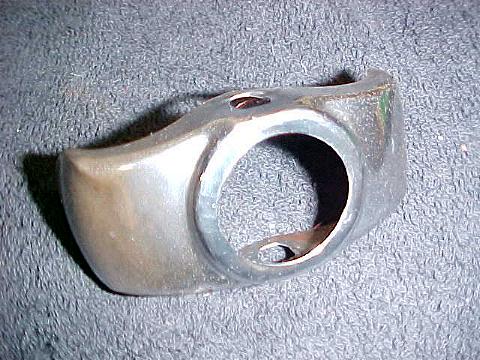
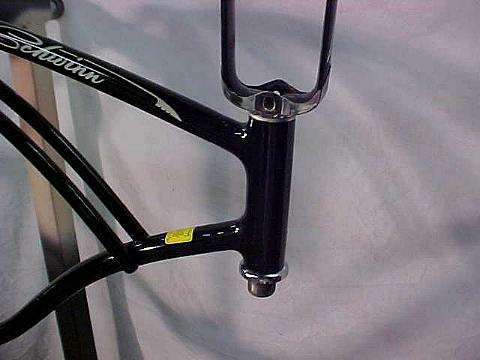
Now the fork crown is clean and shiny. The rust is a little thin from age so I'll keep this on my mental list for sending to the chrome shop in the future.
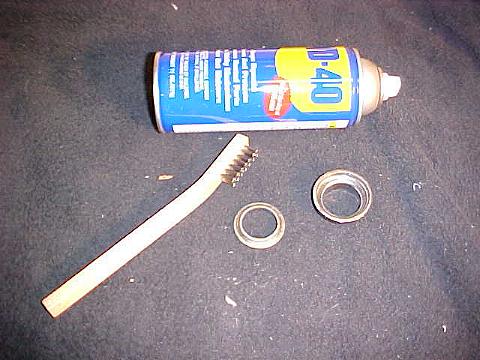
Now it is time to attack the hardened grease! Wd-40, a stainless steel toothbrush, and the cups and races. I'll do these items of the headset, piece by piece and reinstall them as I go. I will also use the steel wool on the outside of the cups. If the grease is soft I'll use a brass toothbrush.
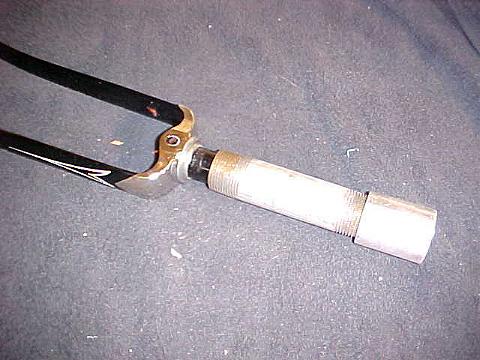
Here is a trick to install the bottom fork race. A 1 inch diameter length of pipe. Works perfectly without harming the race. Just a couple of taps with a soft blow hammer does the trick.

To clean the bearings, I let them soak overnight in WD-40. Softens even the hardest grease. Tomorrow I will scrub them with a brass toothbrush.
A little bit at a time. The frame makes a nice holder for the fork while I work on the headset. Tomorrow? More cleaning and scrubbing!
Bike Detailing Page Two
Bike Detailing Page Three
BUNCH "O" BIKES
BUNCH "O" BIKES UNDER CONSTRUCTION
BUNCH "O" BIKES NO LONGER WITH US
REPAIR AND RESTORATION TIPS
COOL LINKS
STUFF FOR SALE
Questions? Suggestions? Send an email
This Page Copyright (©)1999-2002 By MNSmith