Bike Detailing Page Three
I use a little steel wool to polish up the cad pieces. Makes them shine pretty good without looking like chrome.
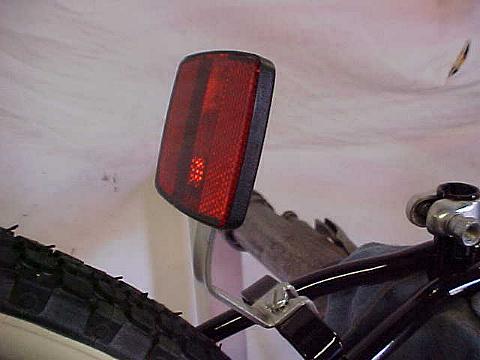
Gotta have a reflector or two. The bracket gets cleaned with steel wool. The reflector itself gets cleaned with a blast of window cleaner and a scrub with a rag.
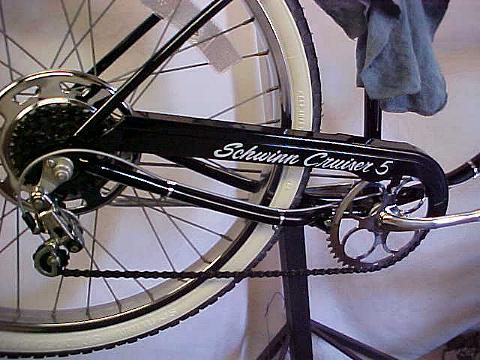
The chainguard gets the same treatment as the frame, a good cleaning followed by a good waxing. Get all the nooks and crannies!
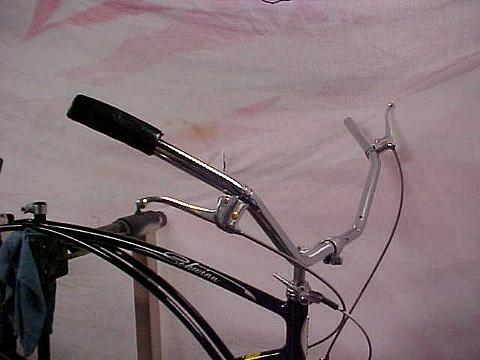
The handlebar, stem, grips and levers all get assembled but left loose. This is stuff you will want to adjust when you have it on the ground and are sitting in the saddle.
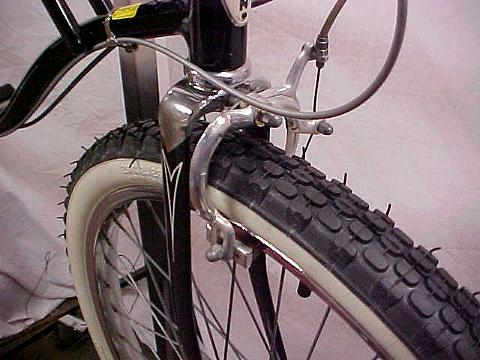
The aluminum components of the front brake get a little Blue Magic polishing. Make sure you degrease the rubber brake pads.
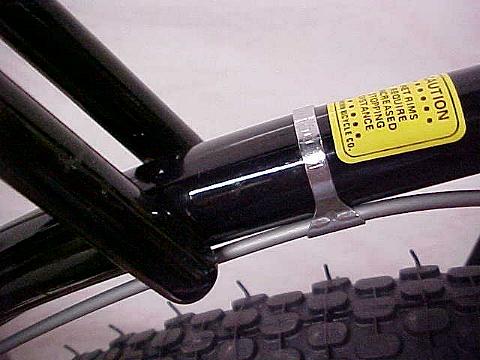
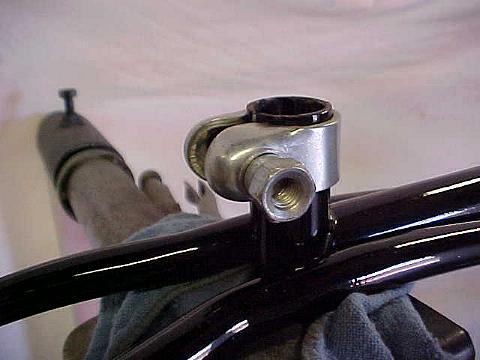
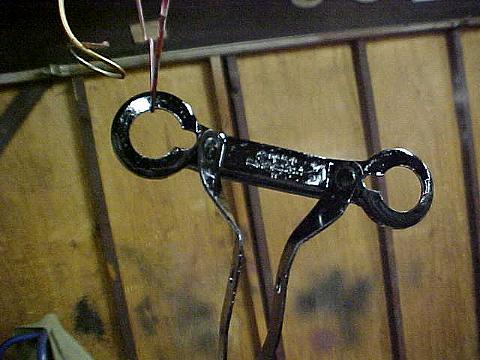
Remember this front clamp? Looks pretty good all cleaned up, extra wax buildup removed.
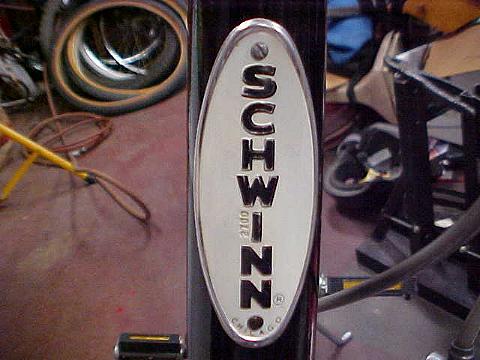
Use a little wax gently clean the headbadge. No need to get aggressive and rub off the paint. Once clean, reinstall it on the frame.
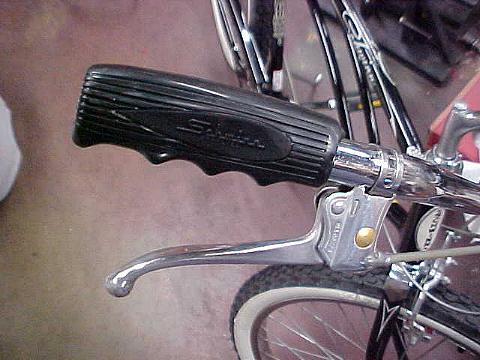
Set the position of your grips and handles. Then tighten down the handles. Make sure you do this when you have assumed the riding position. Afterall, this is when these components will get used most!
The seat rail was starting to show signs of rust. So I figured it wouldn't hurt too much to spray a little black paint. Maybe arresting the progress.
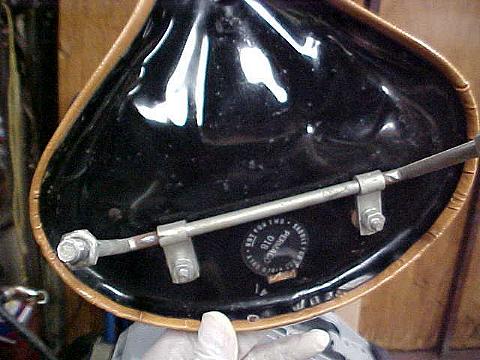
The pan's paint was good, so again, out comes the wax. Cleaning up the cad components also occurs.
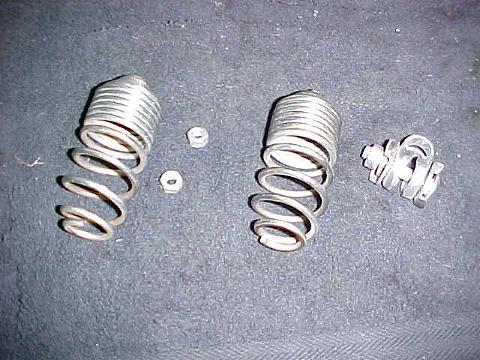
While waiting for the paint to dry, it's a good time to clean the seat parts. Again, a little steel wool works wonders. Maybe even a stainless steel toothbrush to reach in the tight spots.
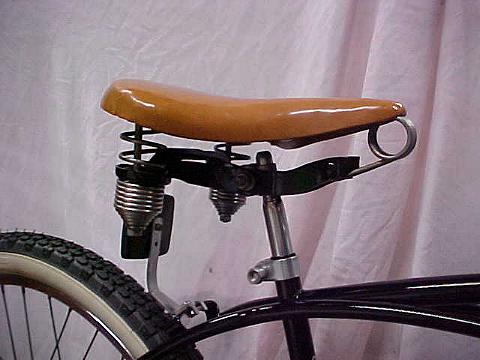
That saddle looks good when reassembled and installed. More steel wool was used on the seat post along with a little Blue Magic.
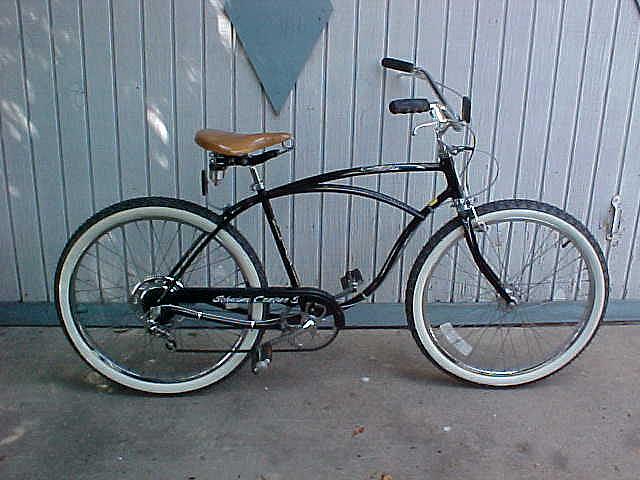
Now the whole thing shines and is ready to face another 20 years. Go over it once with a soft rag to remove all the finger prints from reassembly. Take it for a test drive! You deserve it!
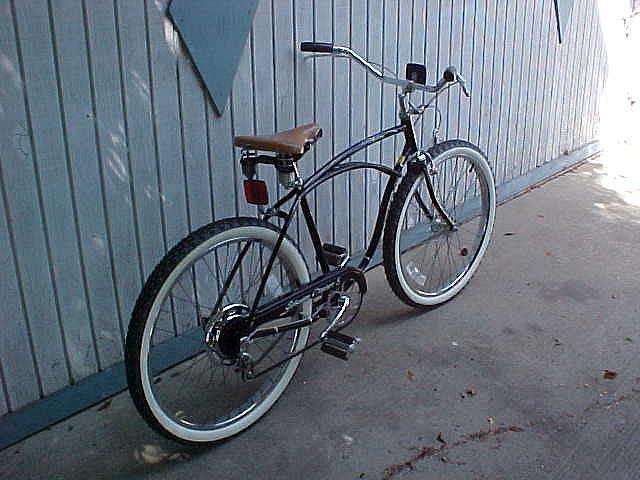
Time to head off into the sunset!
BUNCH "O" BIKES
BUNCH "O" BIKES UNDER CONSTRUCTION
BUNCH "O" BIKES NO LONGER WITH US
REPAIR AND RESTORATION TIPS
COOL LINKS
STUFF FOR SALE
Questions? Suggestions? Send an email
This Page Copyright (©)1999-2002 By MNSmith