How To Recover A Saddle
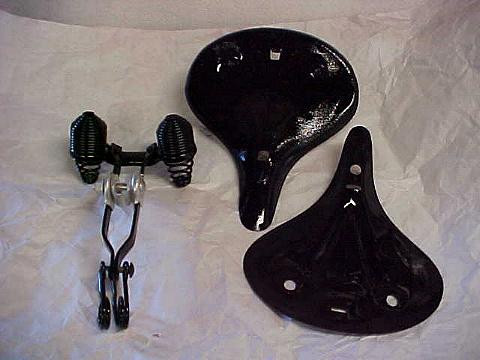
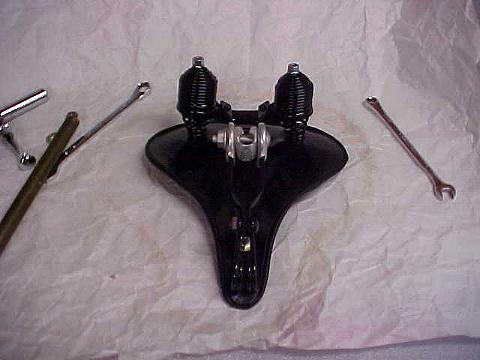
I don't know how others do it, but this is how I recover old seats. Let's start with sandblasted and painted parts. Sometimes I will do the nuts and bolts, sometimes I will just use new ones. You could also have these parts powder coated for a little more durability.
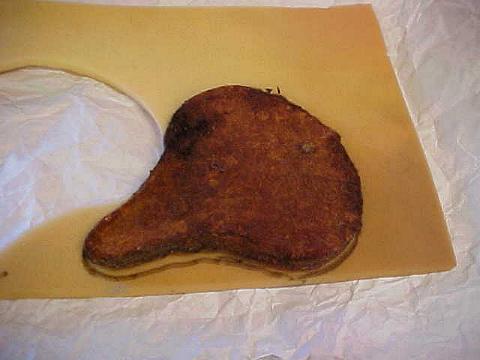
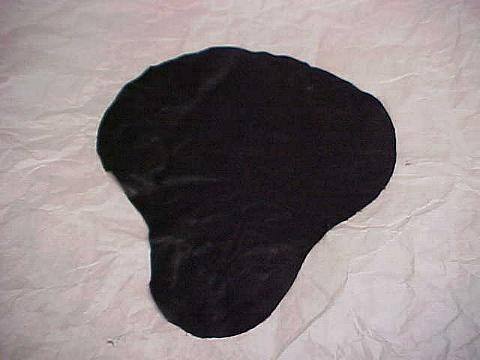
First thing I do is find some 1/2" thick upholstery foam. I use the old pad as template and trace around. I would use the old pad on my restoration but there is a lot of rust still in the fibers. I wouldn't want that stuff wearing a hole in the new paint I just sprayed!
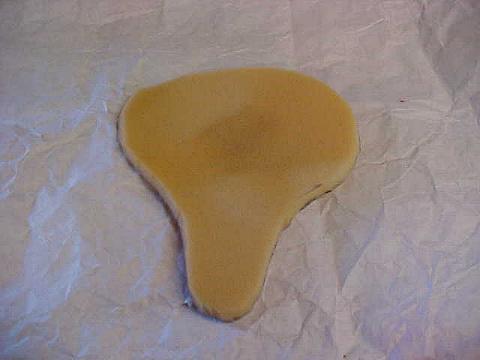
Here it is. I usually give the foam a little bit of a beveled edge. Okay! Next item!
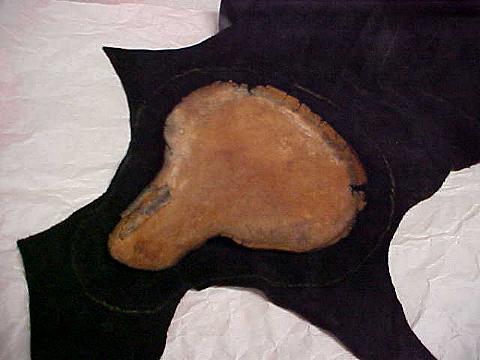
Just about the same process with the leather. Difference is I use the old leather and add about an inch around the old shape. Usually the old leather rips right at the fold so if you traced it exactly, you wouldn't have enough material to cover your seat. For both the foam and the leather, if you don't have the old ones to copy, you can use the pan. Just cut the foam evenly and cut enough leather to fold over the edge of the pan.
I'm using a light weight upholstery leather for my seats. I have seen other seat restorations that use a heavier leather to take the stamp in the top. I don't have a stamp. I like the finish my material has, but there is nothing wrong with using a heavier product.
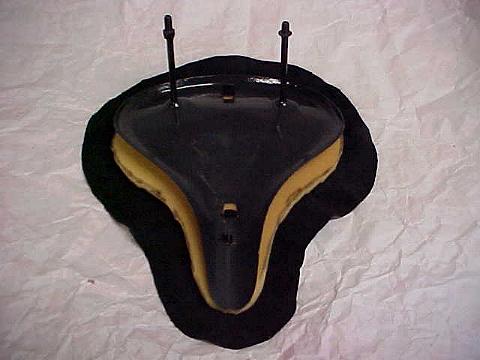
I got the pieces together and did a little test fit. With everything in the right place, spray the leather and the pan with your upholstery adhesive. I'm using one of the fine 3M products. Your local auto parts store should have some.
Once the adhesive gets tacky, start folding you leather over the edges. Make sure you pull everything nice and tight. I usually start at the nose since that's where a lot of material is going to bunch up. I spend a little extra time there making sure the edges look smooth. Then I go to the back of the pan, pull tight and fold over. Then I attack the sides, making sure, again, to keep things nice and tight. Take your time, the adhesive will stay tacky long enough for you to get your work done.
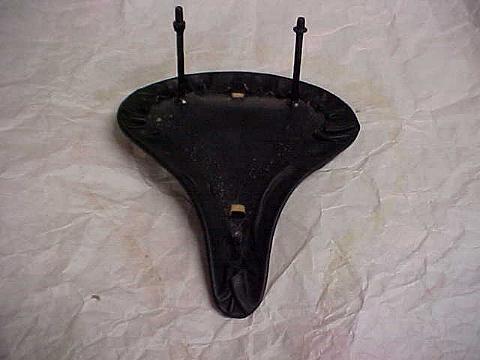
Now we get the bottom plate on and fold the tabs. It's all downhill from here!! To make sure everything was going to be nice and snug, I put a nut on the front stud and then folded my tabs. Nice and tight!
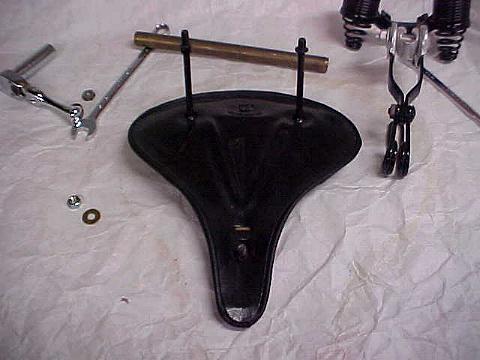
Now just assemble the rest of your components. You have already finished the hard parts!
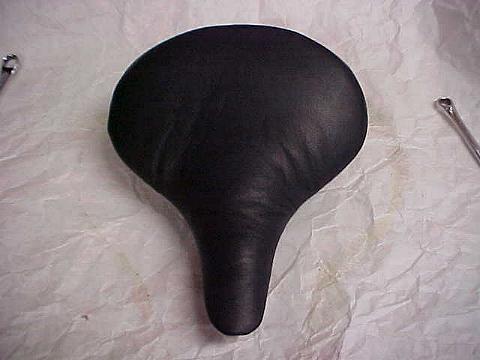
Not so bad! Not bad on my rear also! Now to figure out which bike to put it on!
BUNCH "O" BIKES
BUNCH "O" BIKES UNDER CONSTRUCTION
BUNCH "O" BIKES NO LONGER WITH US
REPAIR AND RESTORATION TIPS
COOL LINKS
STUFF FOR SALE
Questions? Suggestions? Send an email
This Page Copyright (©)1999-2002 By MNSmith