1951 Chevy Suburban Side Window / Quarter Window Step By Step Install
Okay. So you've disassembled everything, cleaned, sandblasted, etc. Don't forget to clean out your water drains. Time to work on the install process. This is my process. I'm sure there are other ways to do this but this is how I did it and I like the results!

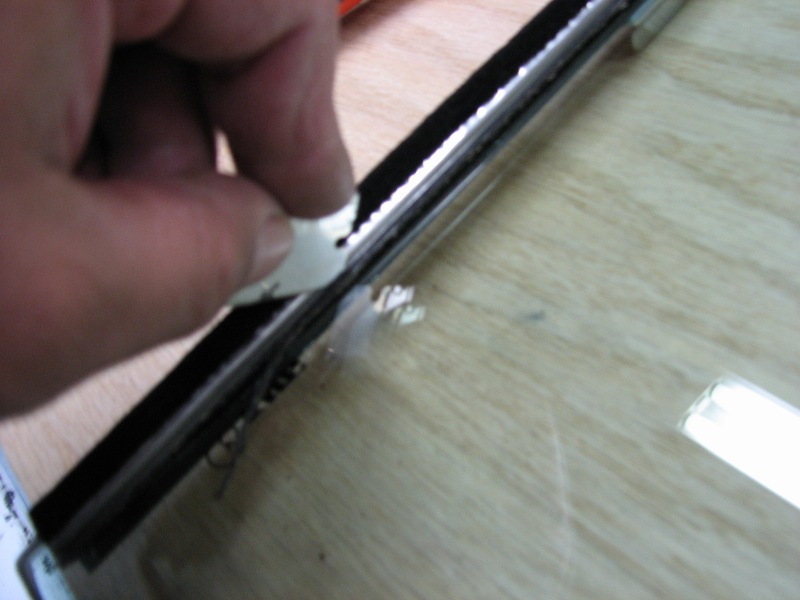
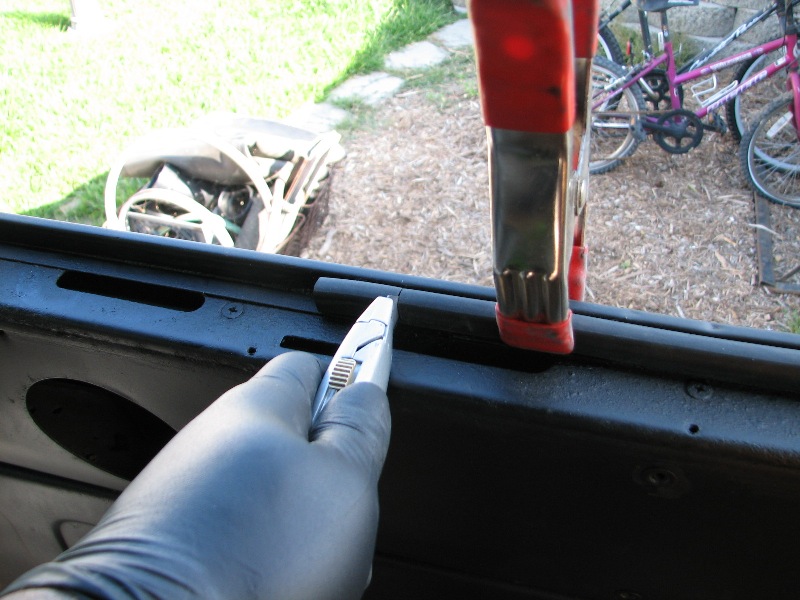
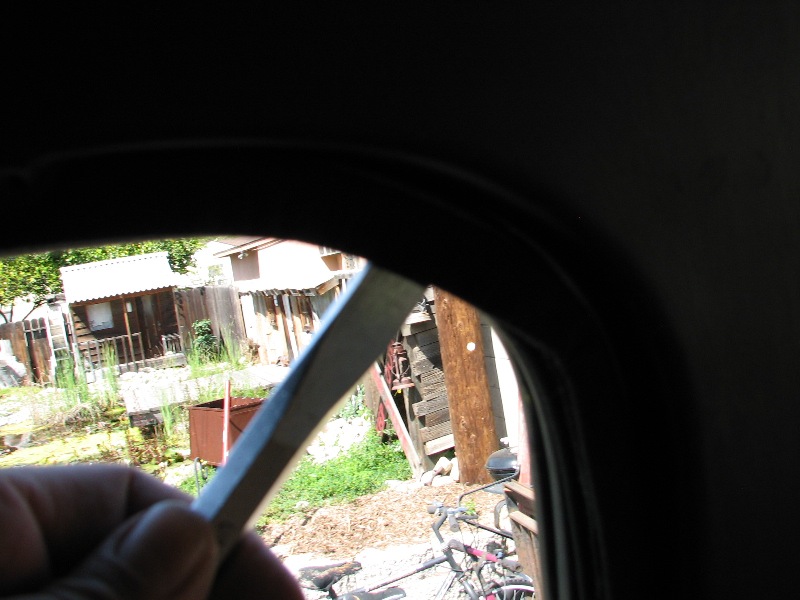
First we need to prep the new glass. I started with an angle awl. I used this to remove the old whiskers. I also used that and a small screwdriver to remove the stainless from the glass.
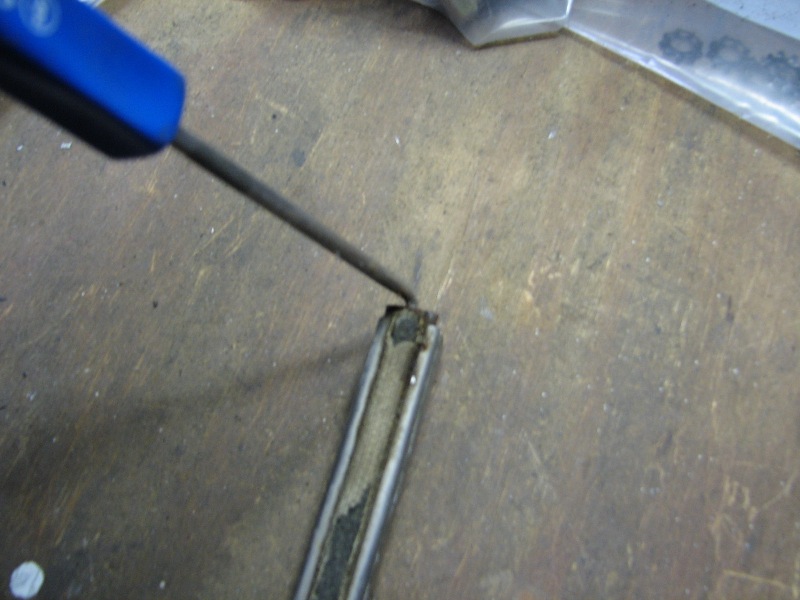
I basically inserted it under the old whiskers and split it open like a zipper. This seemed like the best way to not deform the whisker holder. I'd show you more pictures of this process but at this point I had already completed my four stainless pieces.
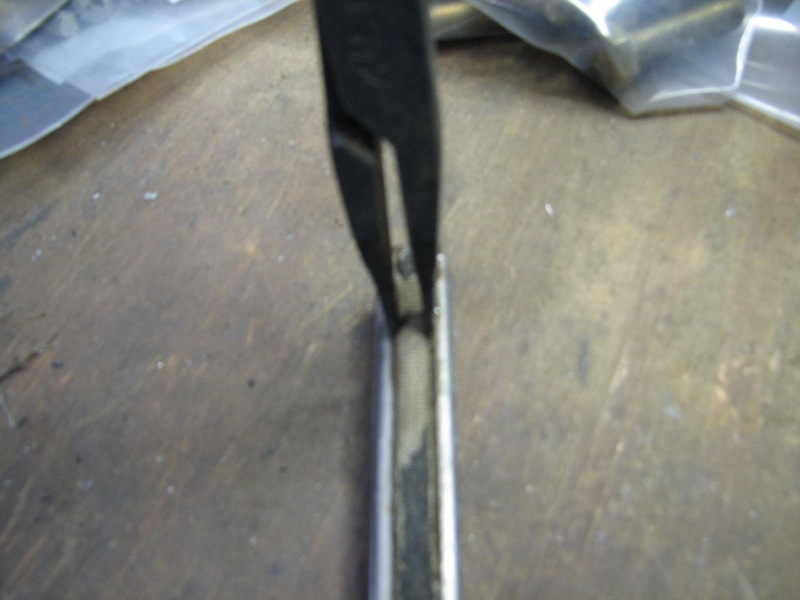
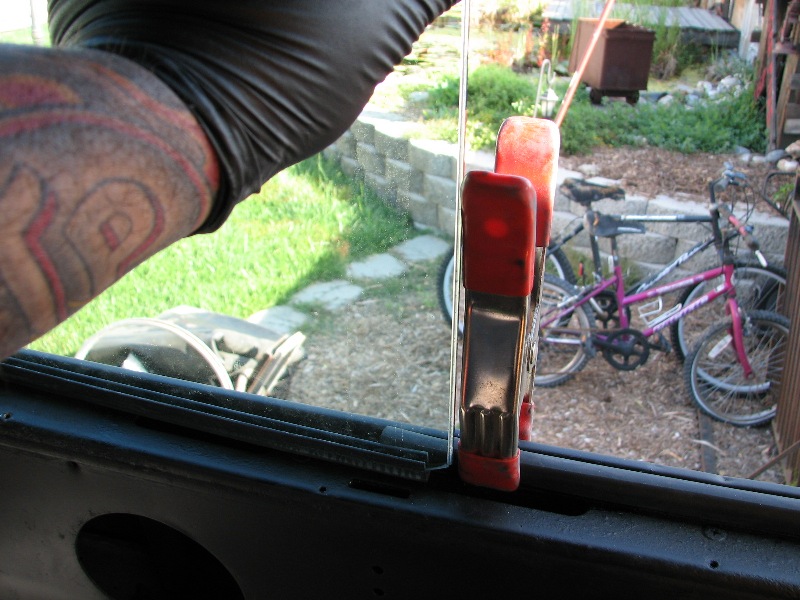
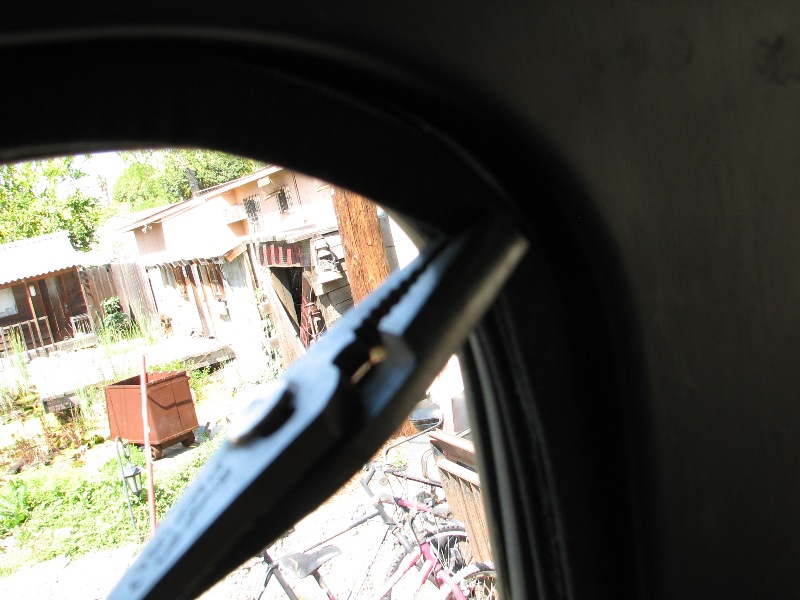
Once I had the old whiskers out, I used my spreading pliers to spread open the track. Just wide enough to fit the new whiskers in. Trim the new whiskers lengthwise so they are not to long. If you leave them long they will rub on the new channel.
After installing the new whiskers, I used a body hammer to tap the track back in to place and to smooth out any wowies I might have created in the process. By the way, the best time to clean up and polish that stainless is just before you install the new whiskers. Also, use a rag between your stainless and a hard object so you don't mar the stainless.
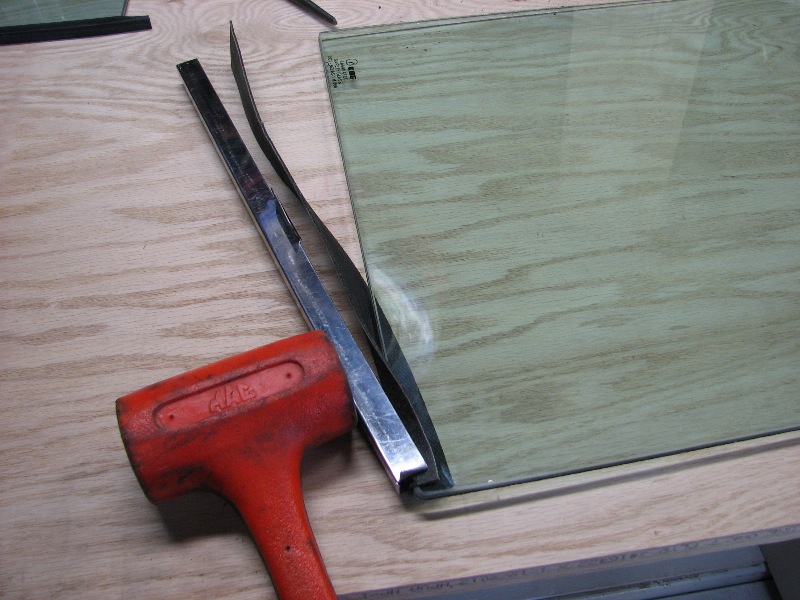
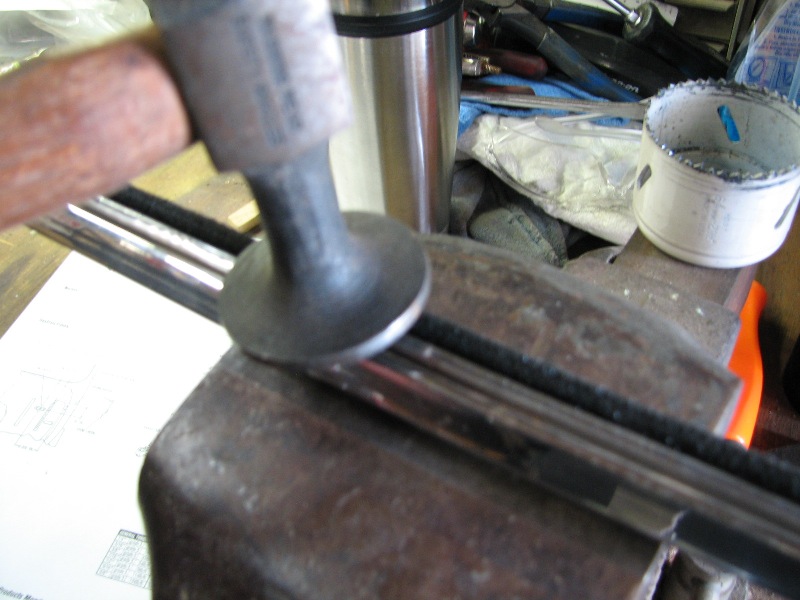
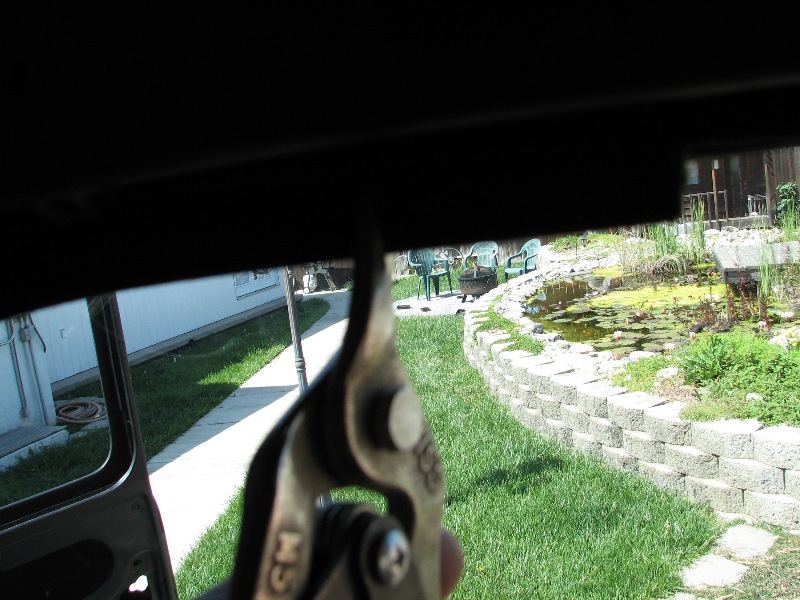
Time to reinstall the stainless to the glass. A rubber mallet would have been better but I left mine at work. So the dead blow had to do. I started at one side and gently tapped it in to place.
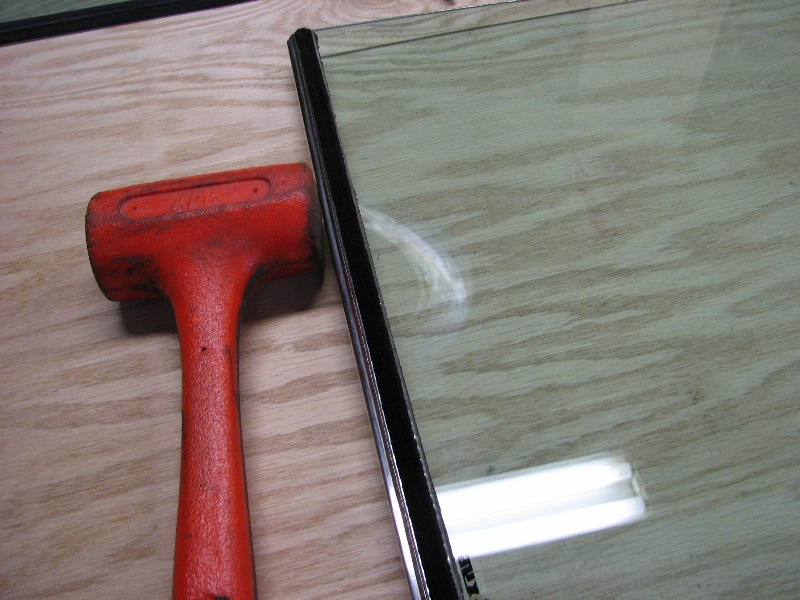
Keep working it until that stainless is nice and snug. I actually did this upright but trying to hold the glass, the hammer and take a pic???? So for viewing purpose, it is on its side. With the quarter glass, I actually did do it flat as you really can't stand it up.
Trim the excess setting tape.
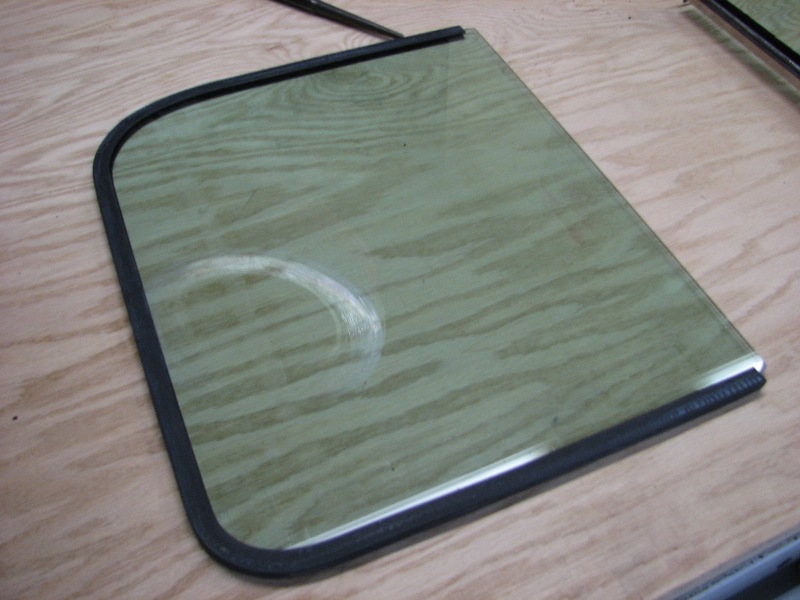
Rubber on the stationary glass is pretty straight forward. Although I'm not happy that the rubber wasn't cut long enough for the quarter glass. Should be fine, though.
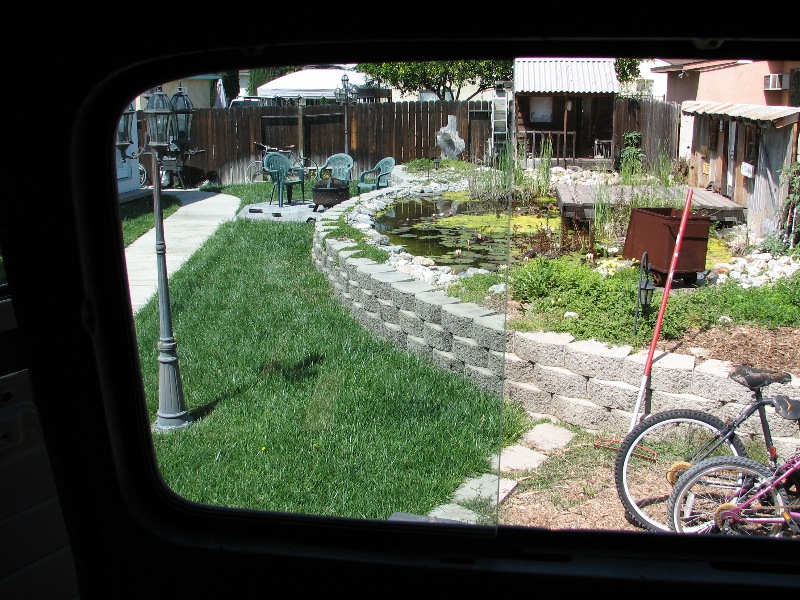
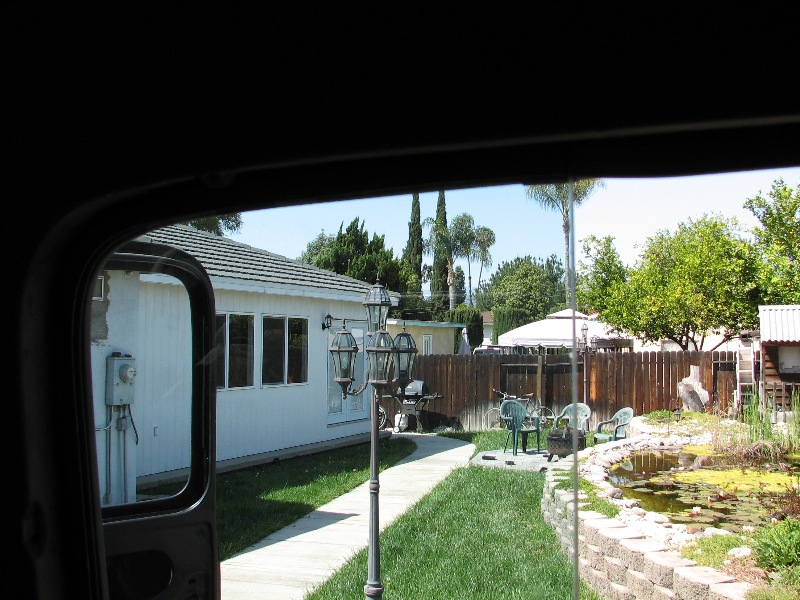
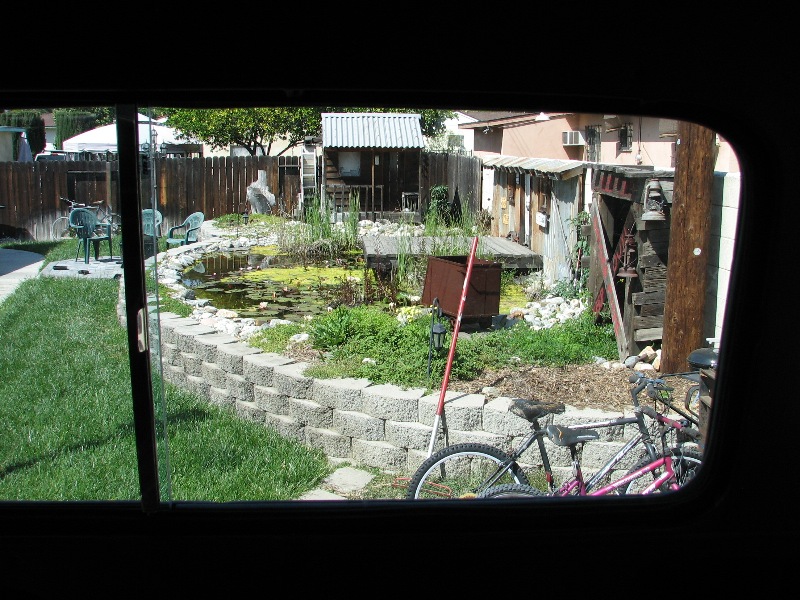
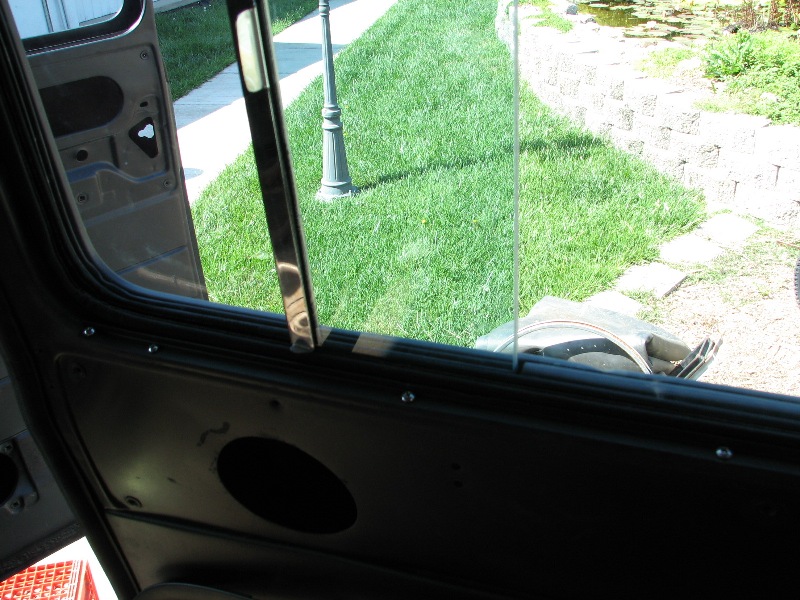
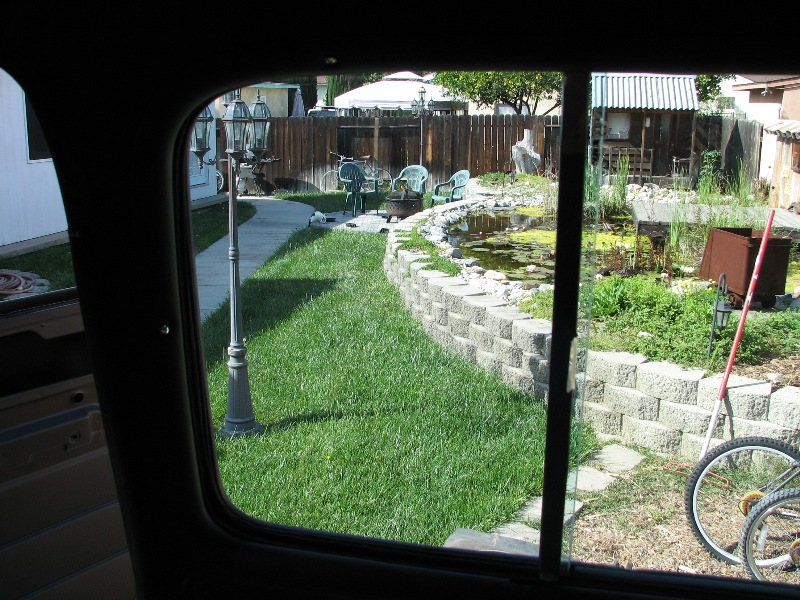
Nice pond, huh? So, I put the stationary glass in place.
Then I marked where it sat. I removed the stationary glass and layed the 3/8" rubber in place to make sure it was long enough to go from the lower mark to the upper mark. Once I verified it was long enough, it became time for glue.
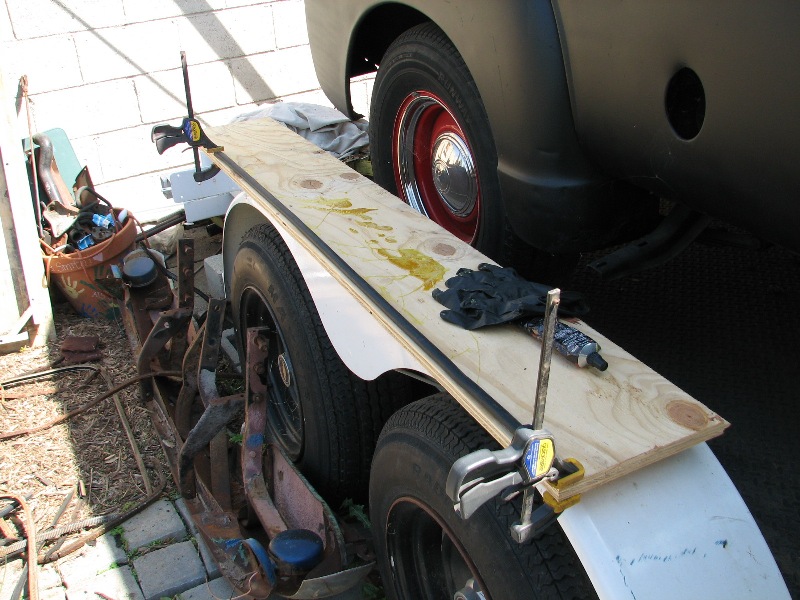
Using a board and clamps kept that piece of rubber from curling up! Follow the directions on the tube of glue and you can't go wrong. I applied glue to both the rubber and to the area where it was going to be seated.
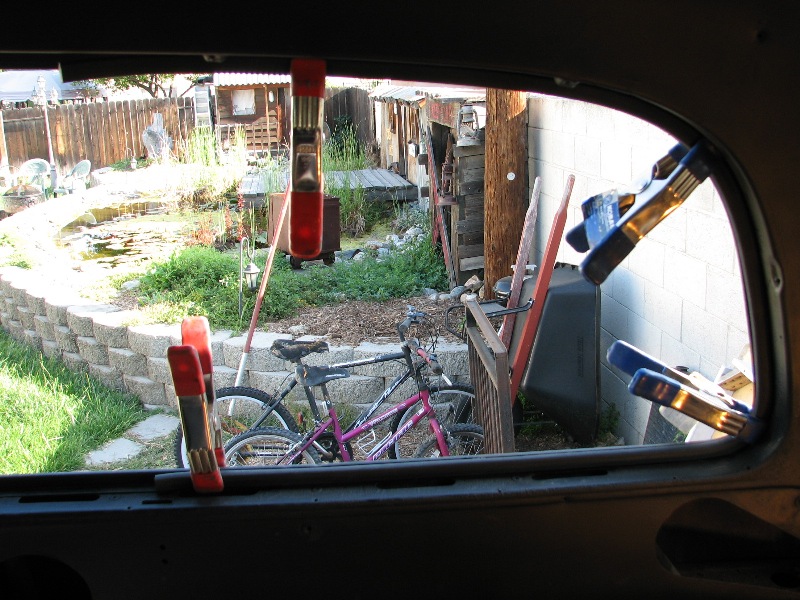
Once the glue became tackey, it was time to install. Those sharp corners can be a bear, so the clamps come in handy.
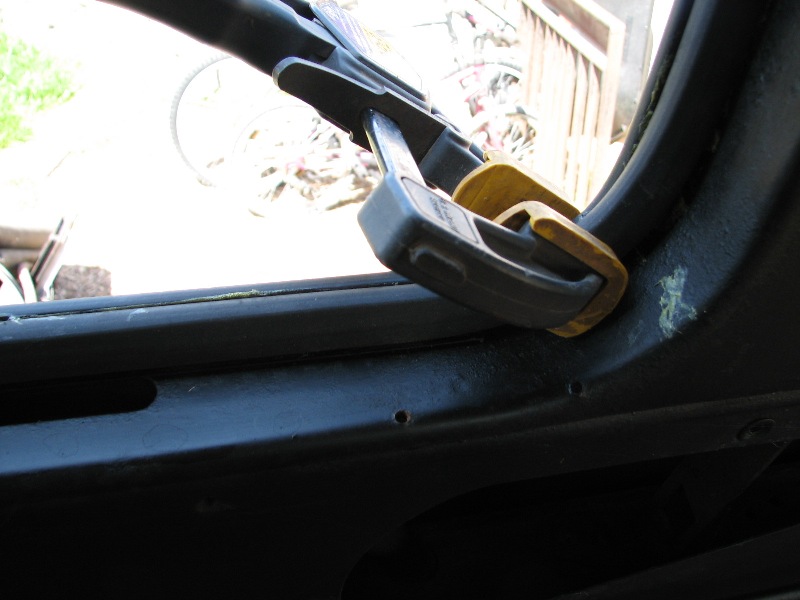
Real handy. Some of that excess glue can be rubbed or scraped off later. Before it becomes too hard.
I place the stationary glass in place so I can mark where to cut the excess 3/8" rubber.
Then the excess is cut off.
Now the stationary glass is put in for the last time.
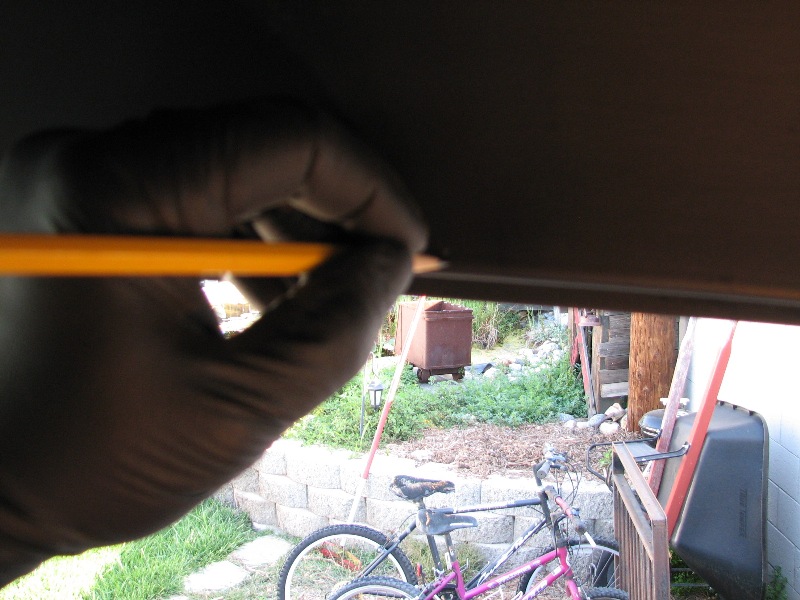
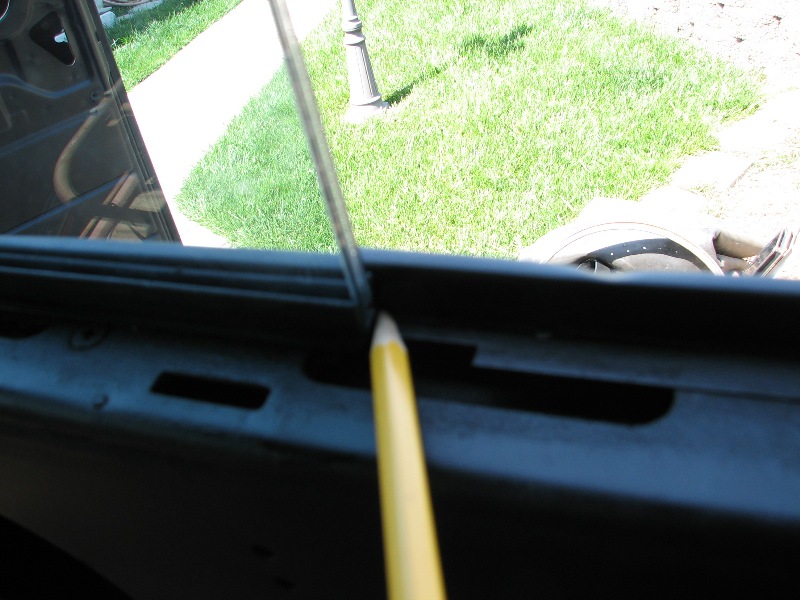
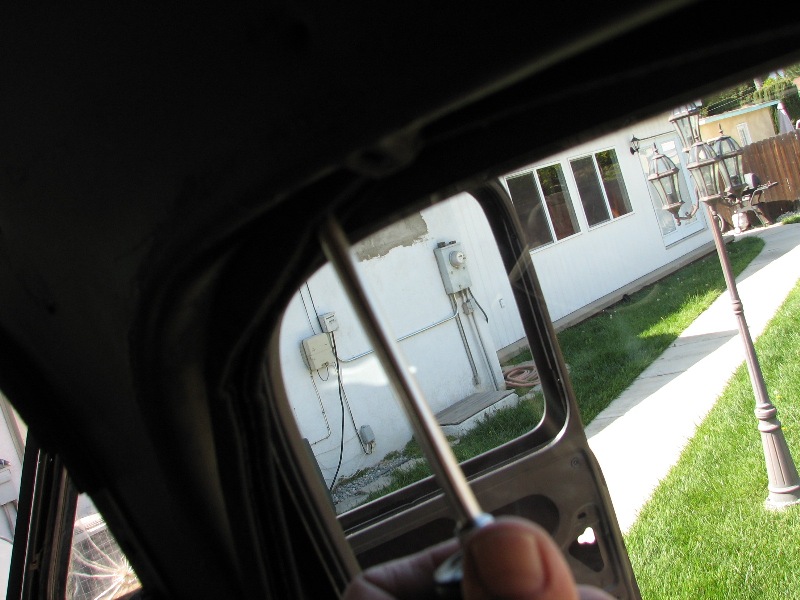
Here I'm marking on the upper edge where the old channel screws used to be.
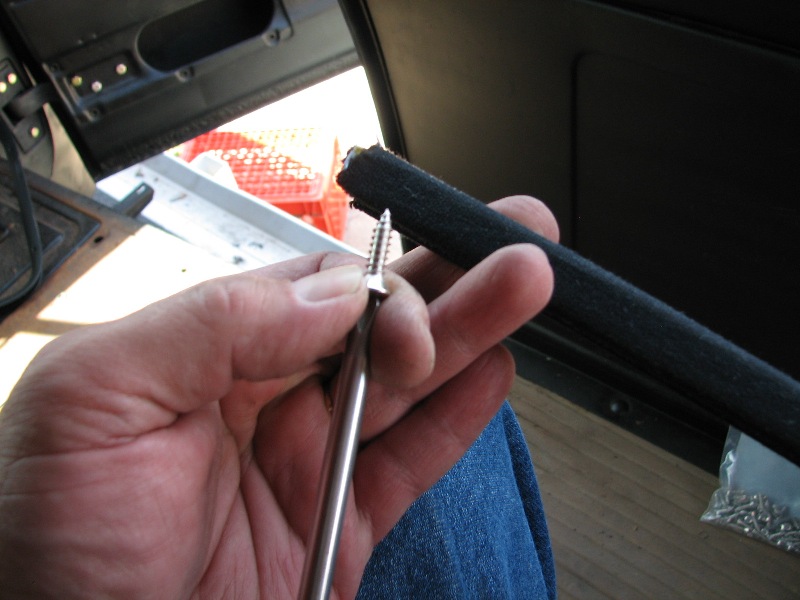
I'm using over sized screws because, over time, the screw holes rusted bigger. Or, at least, pulling out the old screws made the holes bigger. Over size screws make sure that they will stay in when put in to place.
That's about an inch from the end of the channel.
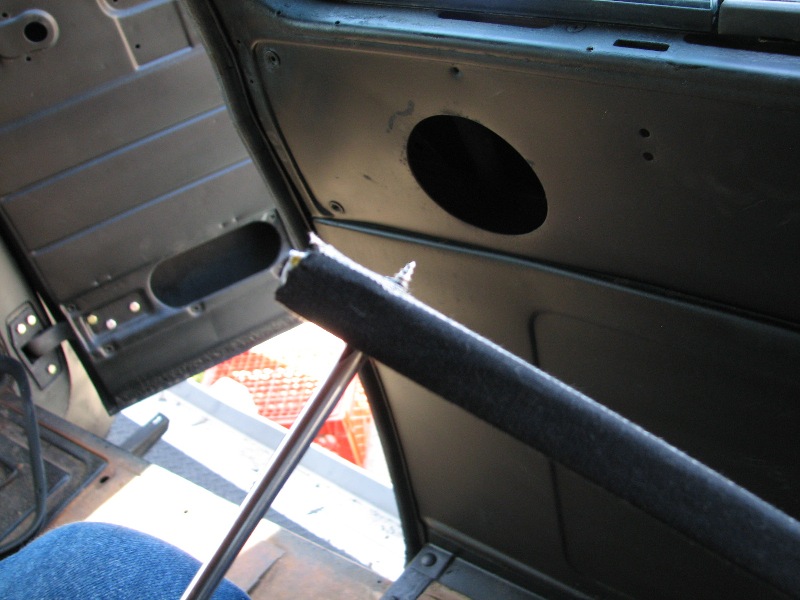
Screwed in to place.
Following the curve of the body, I roughly shape the channel in to place. It is going to deform and almost do what it wants but as long as you get it close.
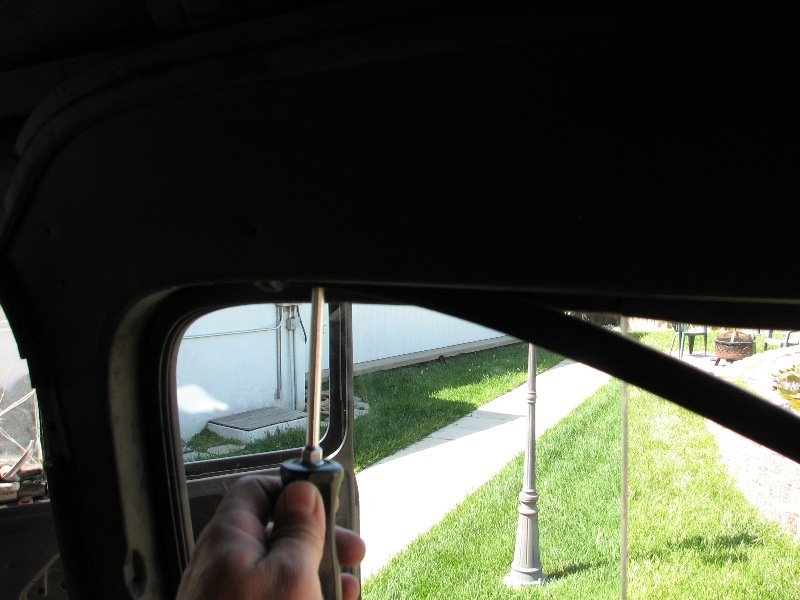
I use a flat tool (chisel) to reshape the inner side.
And pliers to help shape the outer side. A lot of patience and pushing and making it bend to your will!!
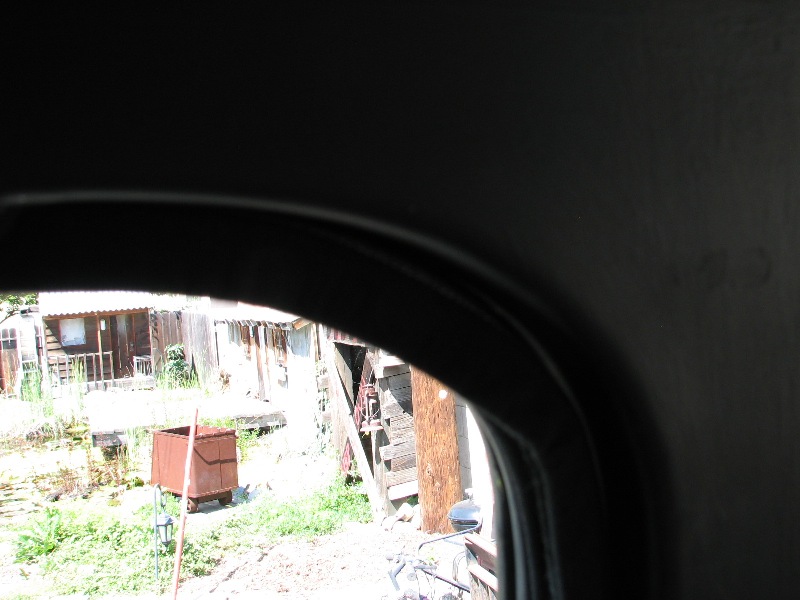
Get one corner in to shape then go to the next. Then the next. When you get back to where you started, it's time to cut off the excess.
Butt the end up against the other then screw it in. Finesse all the corners so they look good.
Time to test fit the slider. When it looks good and slides good ( it will be tight because of the new weather stripping ), remove it one more time. There was one more screw from the factory on the top right side. I put one in the center too, just to keep the channel from sagging. (My glass might be slightly undersize so I noticed the center sagged a bit.) The slider can now go back in.
The lower moulding holder goes in.
Now the molding can be reinstalled. A rubber mallet will help on the lower half when you are installing it between the channel and the retainer. It should be nice and snug. Check the slider to make sure it moves. I didn't install the lock because I need to either have them rechromed or I need to buy new ones.
And there you have it!