Kick Stand Removal
If you have one of these tools, removing the kick stand is a snap. Unfortunately, I don't. So this is how I do it.
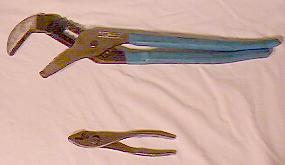
Here are some tools you might need. An adjustable plier, also known as "channel locks" and "water pump pliers." Also you might need some regular pliers for pulling sticky pins.
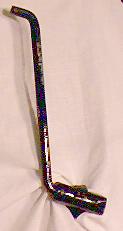
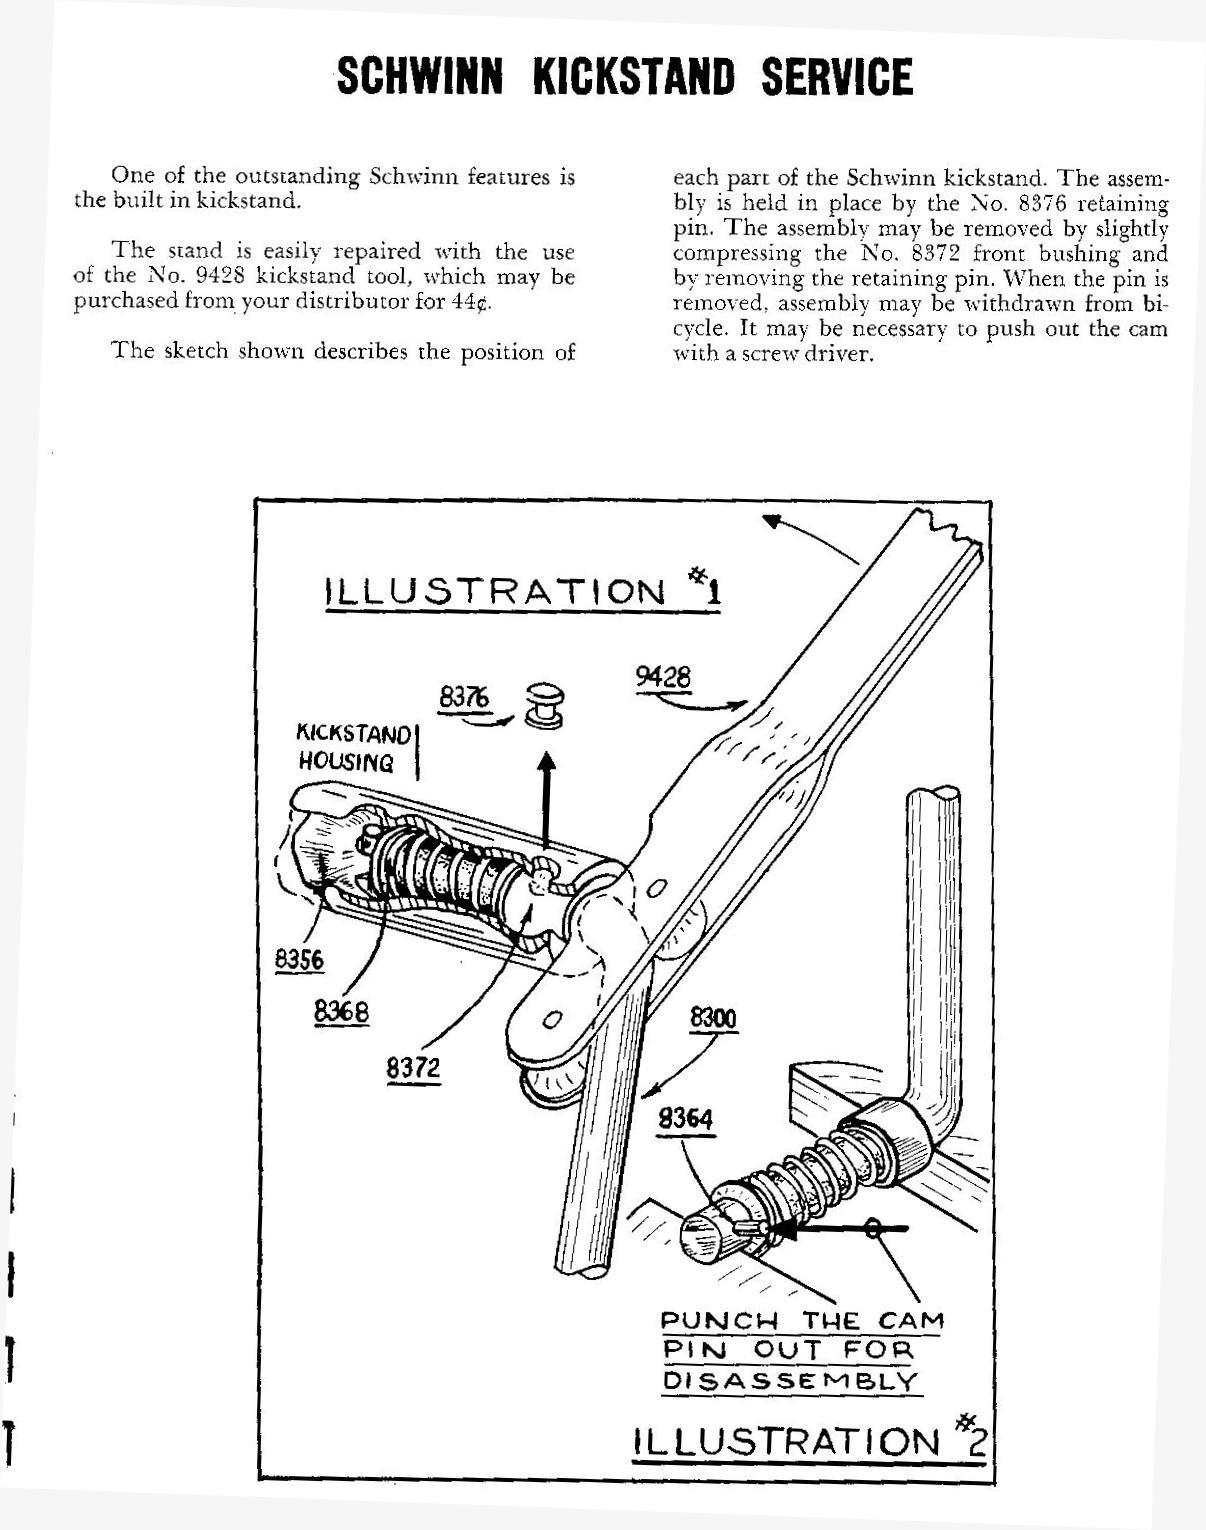
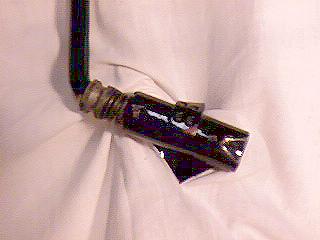
Here is the evil kick stand!
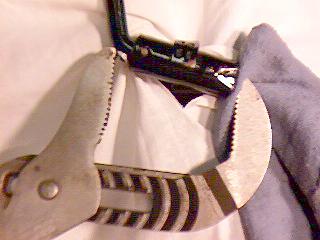
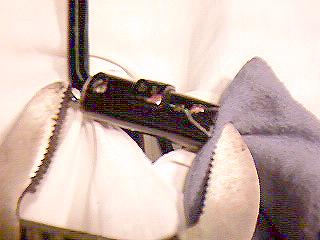
Use a rag or a block of wood between the wrench and the kick stand tube. This will prevent scratching the paint. Also, place a small nut on the opposite side of the wrench, between the wrench and the bushing you are going to squeeze. This will give you a little extra "squeeze" on the bushing.
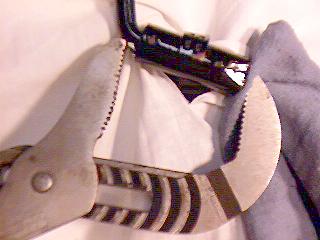
And squeeze!
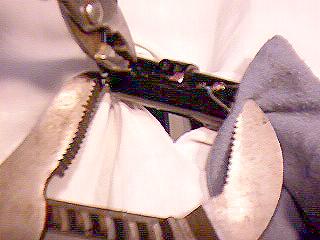
Pull the pin. If you squeeze too hard it will be hard to pull the pin. If you have to, use some pliers to help pull the pin. Most of the time they will just fall out.
And here is the pin removed. Don't lose it!
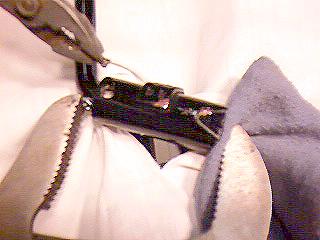
You can now remove the wrench to free the assembly.
Now you can remove the assembly. You might have to use a punch or a screwdriver to drive out the cam from the tube. Reassembly is the reverse of this procedure. Just make sure you lube the assembly before you put it back together.
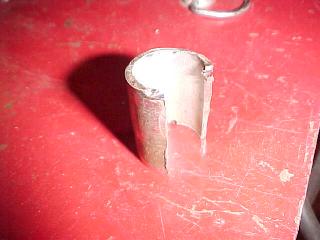
Gordon Bradbury sent this to me. If you have a hack saw, take an old seat post and cut about an inch off the bottom. Also cut a slot in it to make it look "C" shape in its profile view.
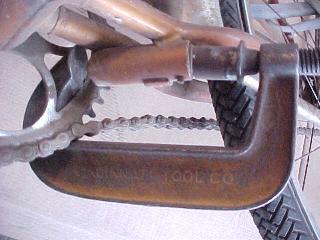
Place your new tool between a C-clamp and the kickstand bushing. Turn in the clamp to release the pin. If you weld or have a buddy who does, dedicate a permanent C-clamp for this purpose by welding your sleeve to the clamp.
Photo credits-My daughter Amanda, except for the last two which are by Gordon Bradbury. Thanks Amanda and Gordon!
Questions? Suggestions? Send an email
This Page Copyright (©) 2002